3D Modeling
Devlog #2: Adding Weight and Printing the Final Set
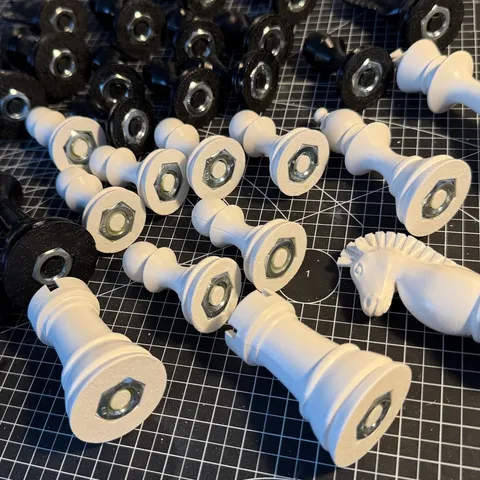
Touch and weight are the two things that separate a chess piece from a plastic toy.
Read storyA lot of slicing was done, but no living beings were harmed in the making of this 3d print.
“Wouldn’t it be cool to have this one at the height of 1m standing in your living room?”, said my in-law brother. “You design, I will polish” - that was the idea.
A few days later he gave me his 3d printer as “a gift”. It wasn’t a gift, it was the final phase to lure me into this project. I also needed it for prototyping the print.
It worked, and I had nothing against it.
The idea was simple, let’s take an existing .stl model, prepare it for 3d printing at scale and print it.
This is where the model comes from:
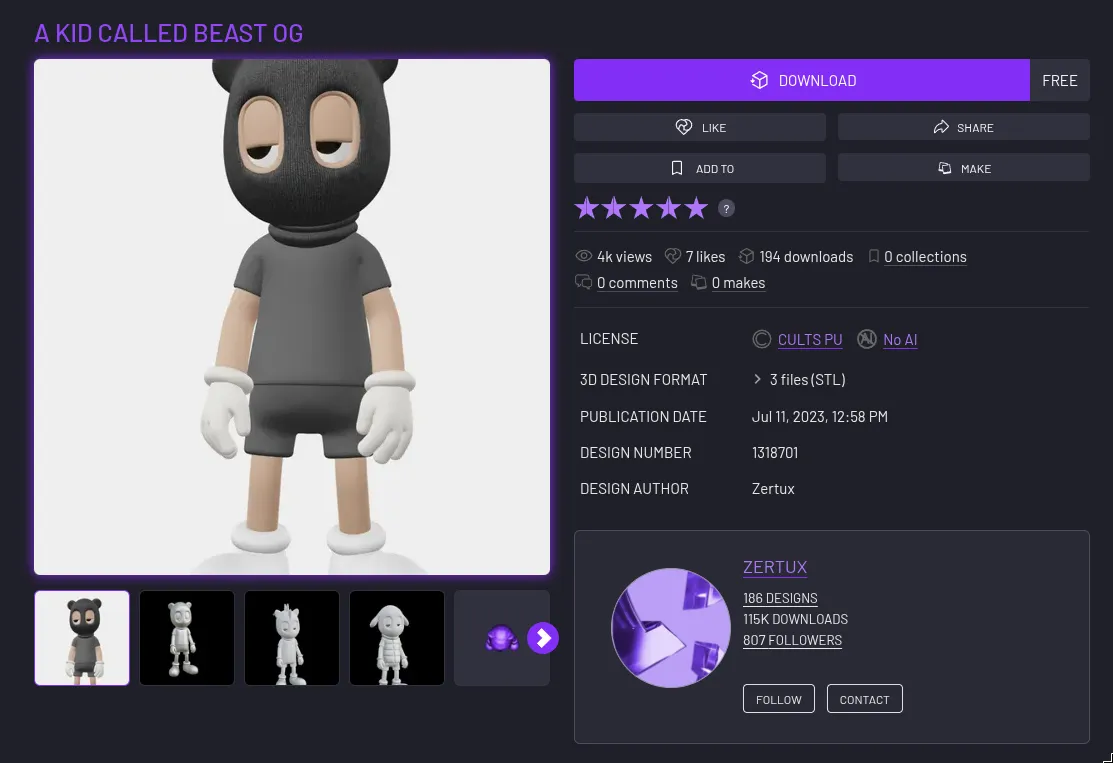
So the CULTS PU license says:
You are authorized to:
- Print and use the 3D prints of the 3D model for private use;
- Share the images of your 3D prints of the 3D model on communication media such as social networks or websites.
So as long as we 3d print and it doesn’t leave the house, we are good to go.
Slicing and printing as-is (as one object) would generate a lot of unnecessary supports. It would increase material usage (a.k.a. the price), print time (a.k.a. the price), and the risk of failure (a.k.a. the price). We don’t want to end up in a situation where the print is 3 days in and suddenly it breaks because of an unforeseen angle or a failed support.
Also, given the requirements of the printed model (1 meter tall), chunking it into smaller pieces was another way to fight gravity, not just to reach that height. “Don’t put all your eggs in one basket” strategy it is.
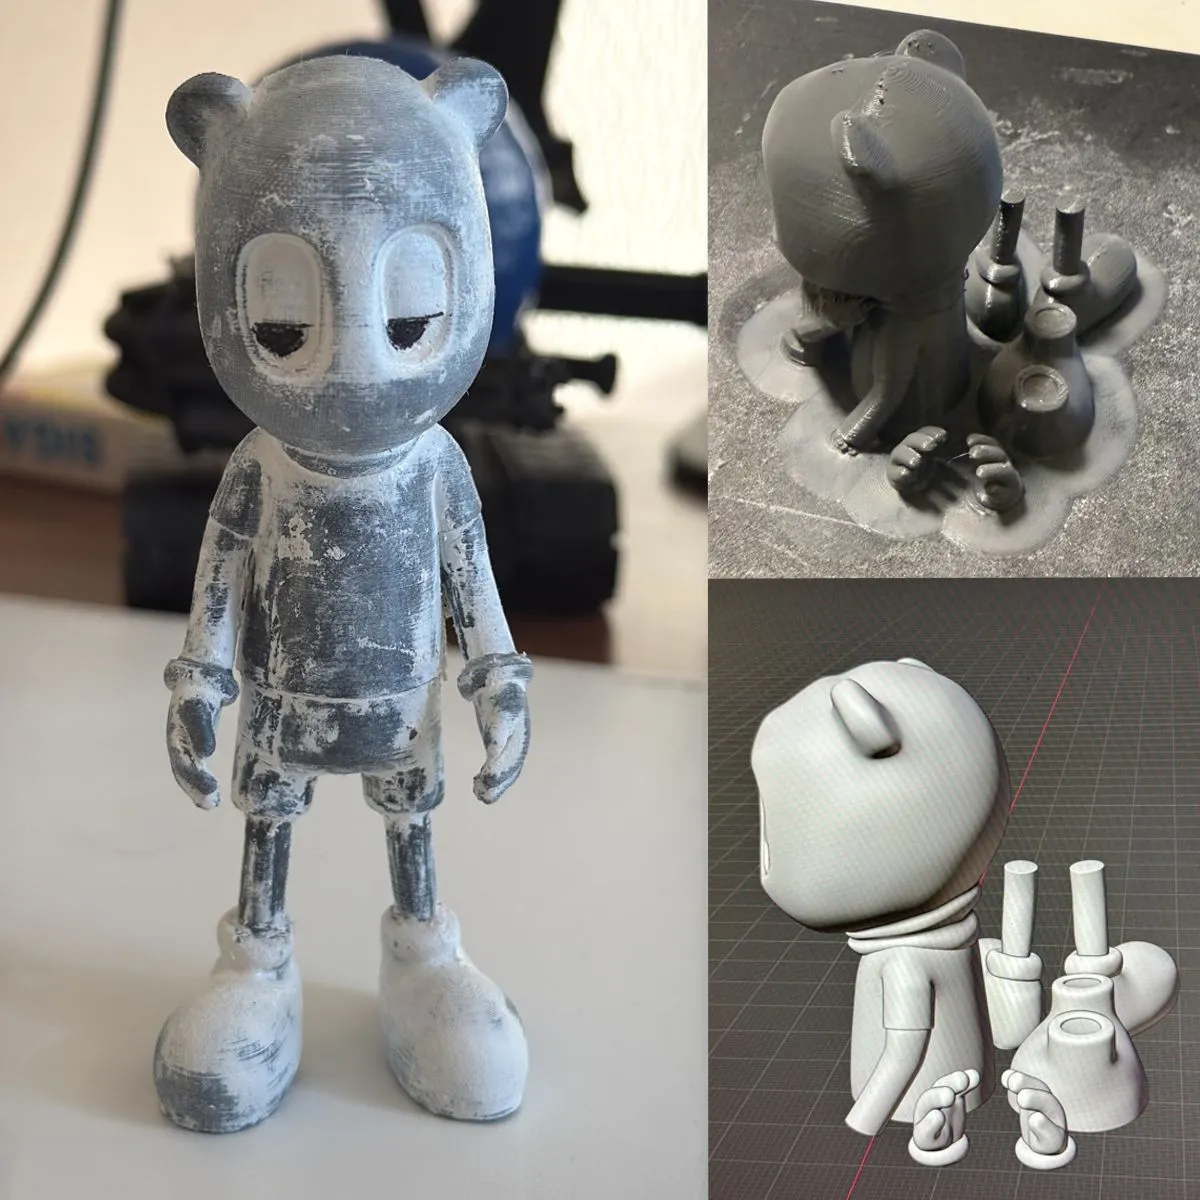
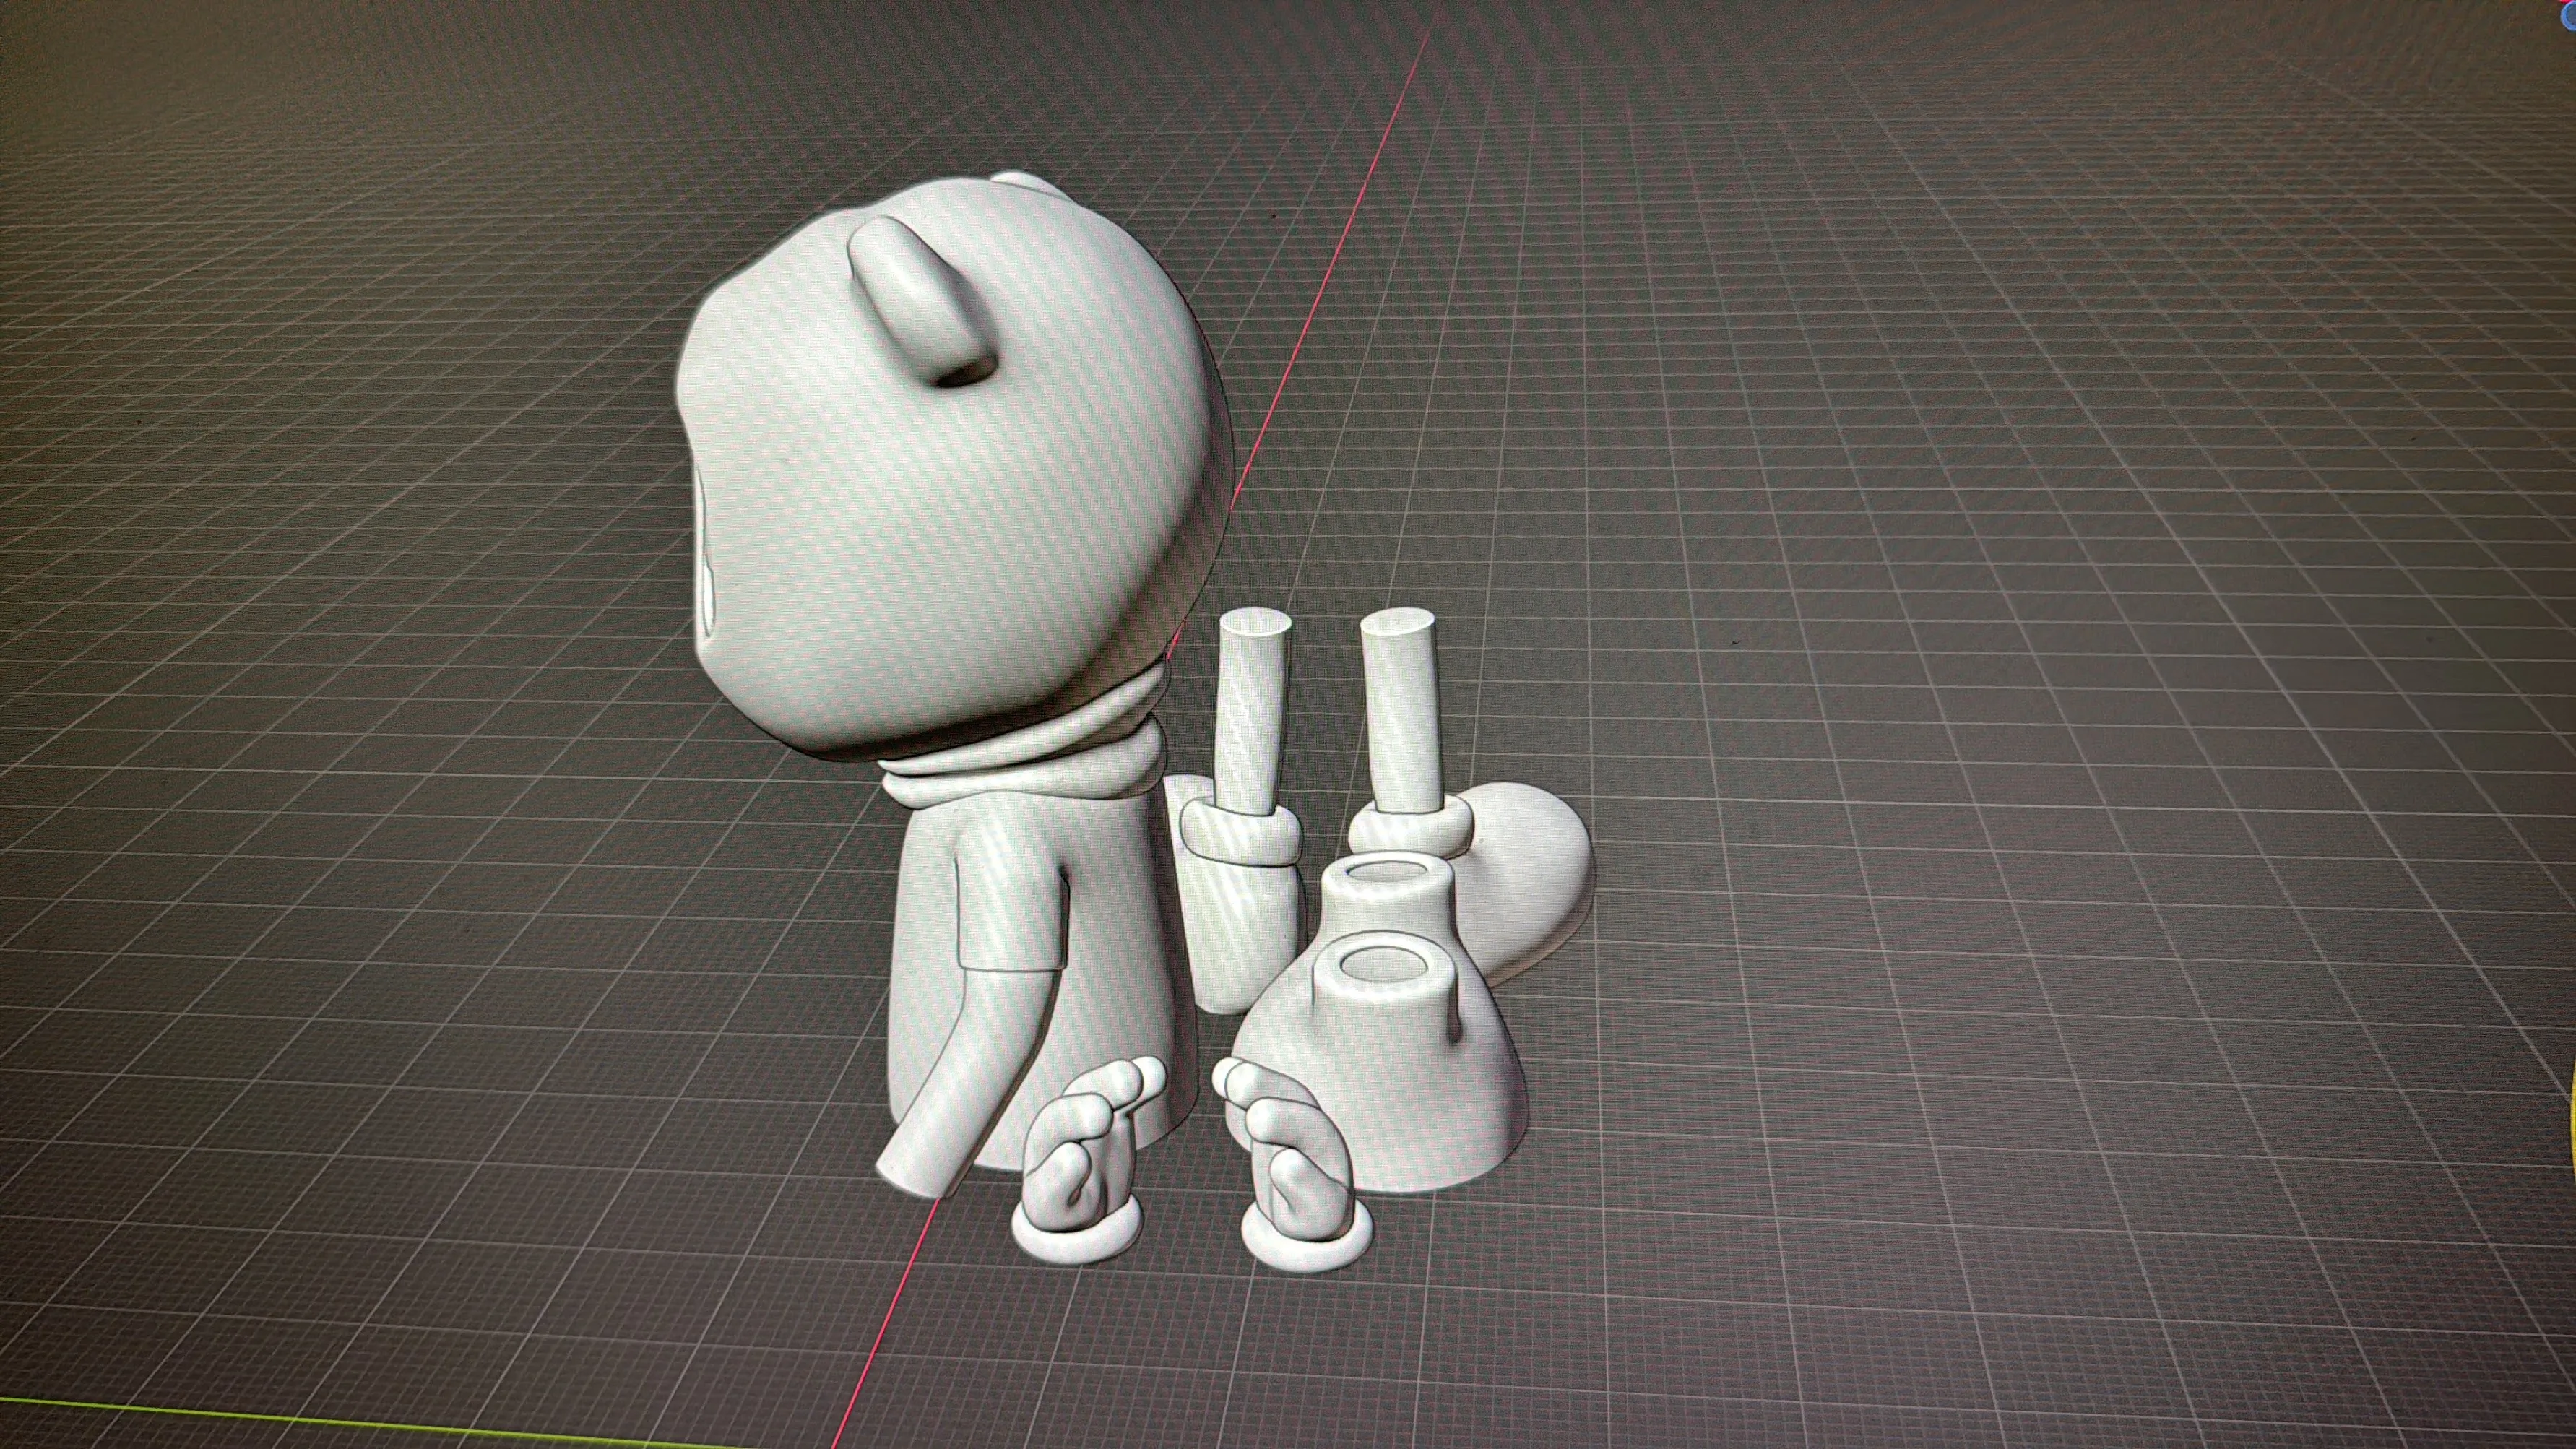
My freshly picked up Blender skills came in handy. Fast forward several days of struggle, the result was there and ready for printing:
… and here is the outcome. I would be lying if I said that it was printed from the first try.
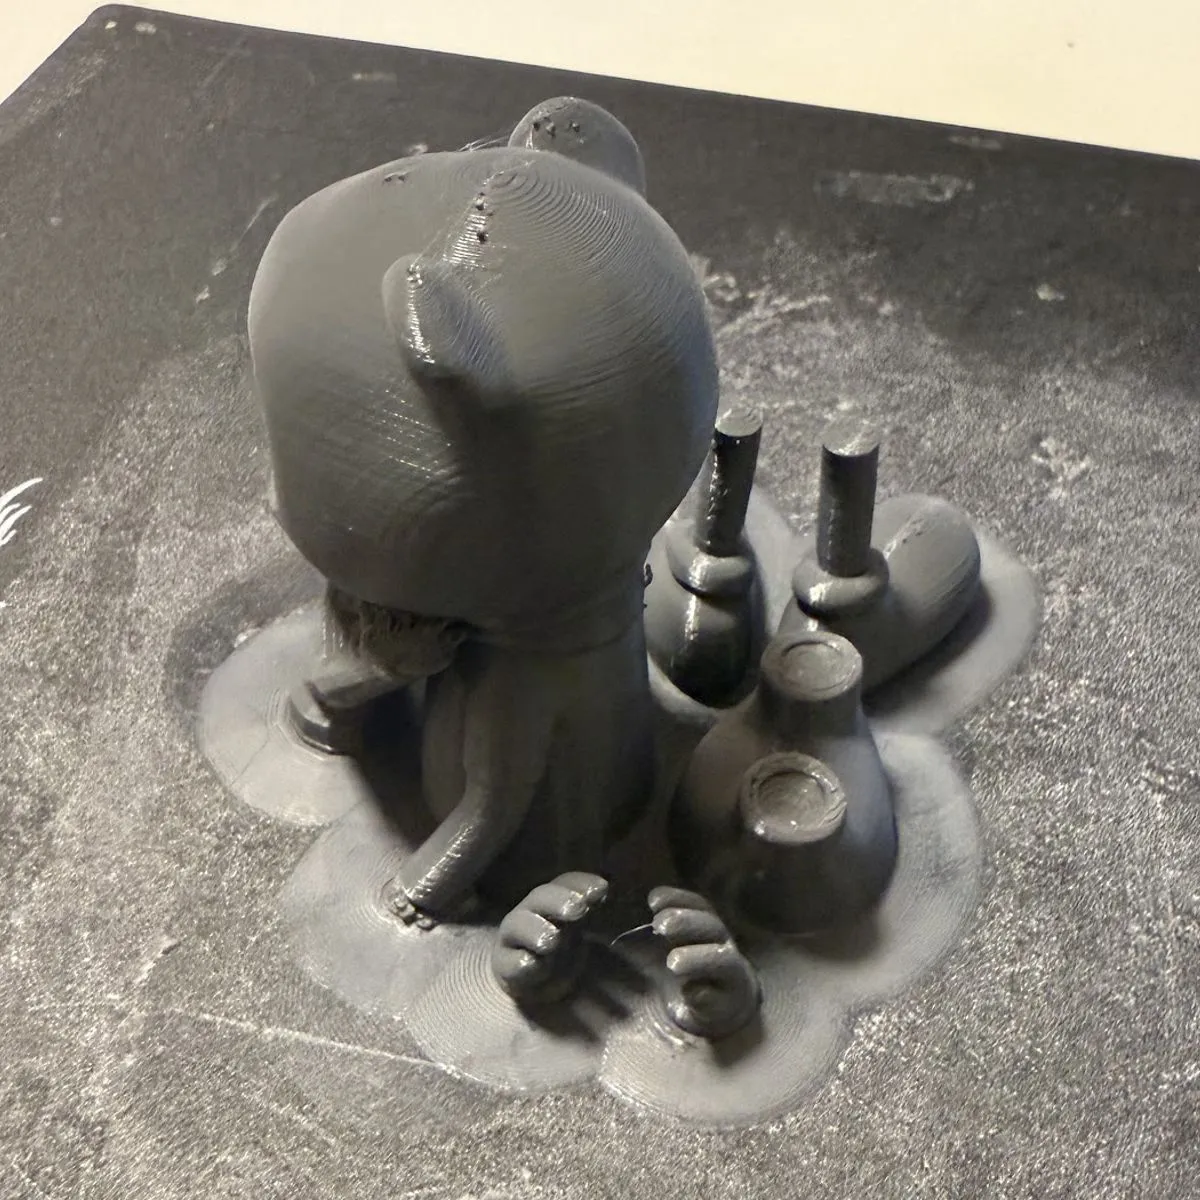
As you can see, the supports are only used in a few places: the chin and arm stumps.
All that was left was to provision it for the big print where we’d be using the Builder Extreme 1500 for max print volume: L 110 X W 50 H 82 cm.
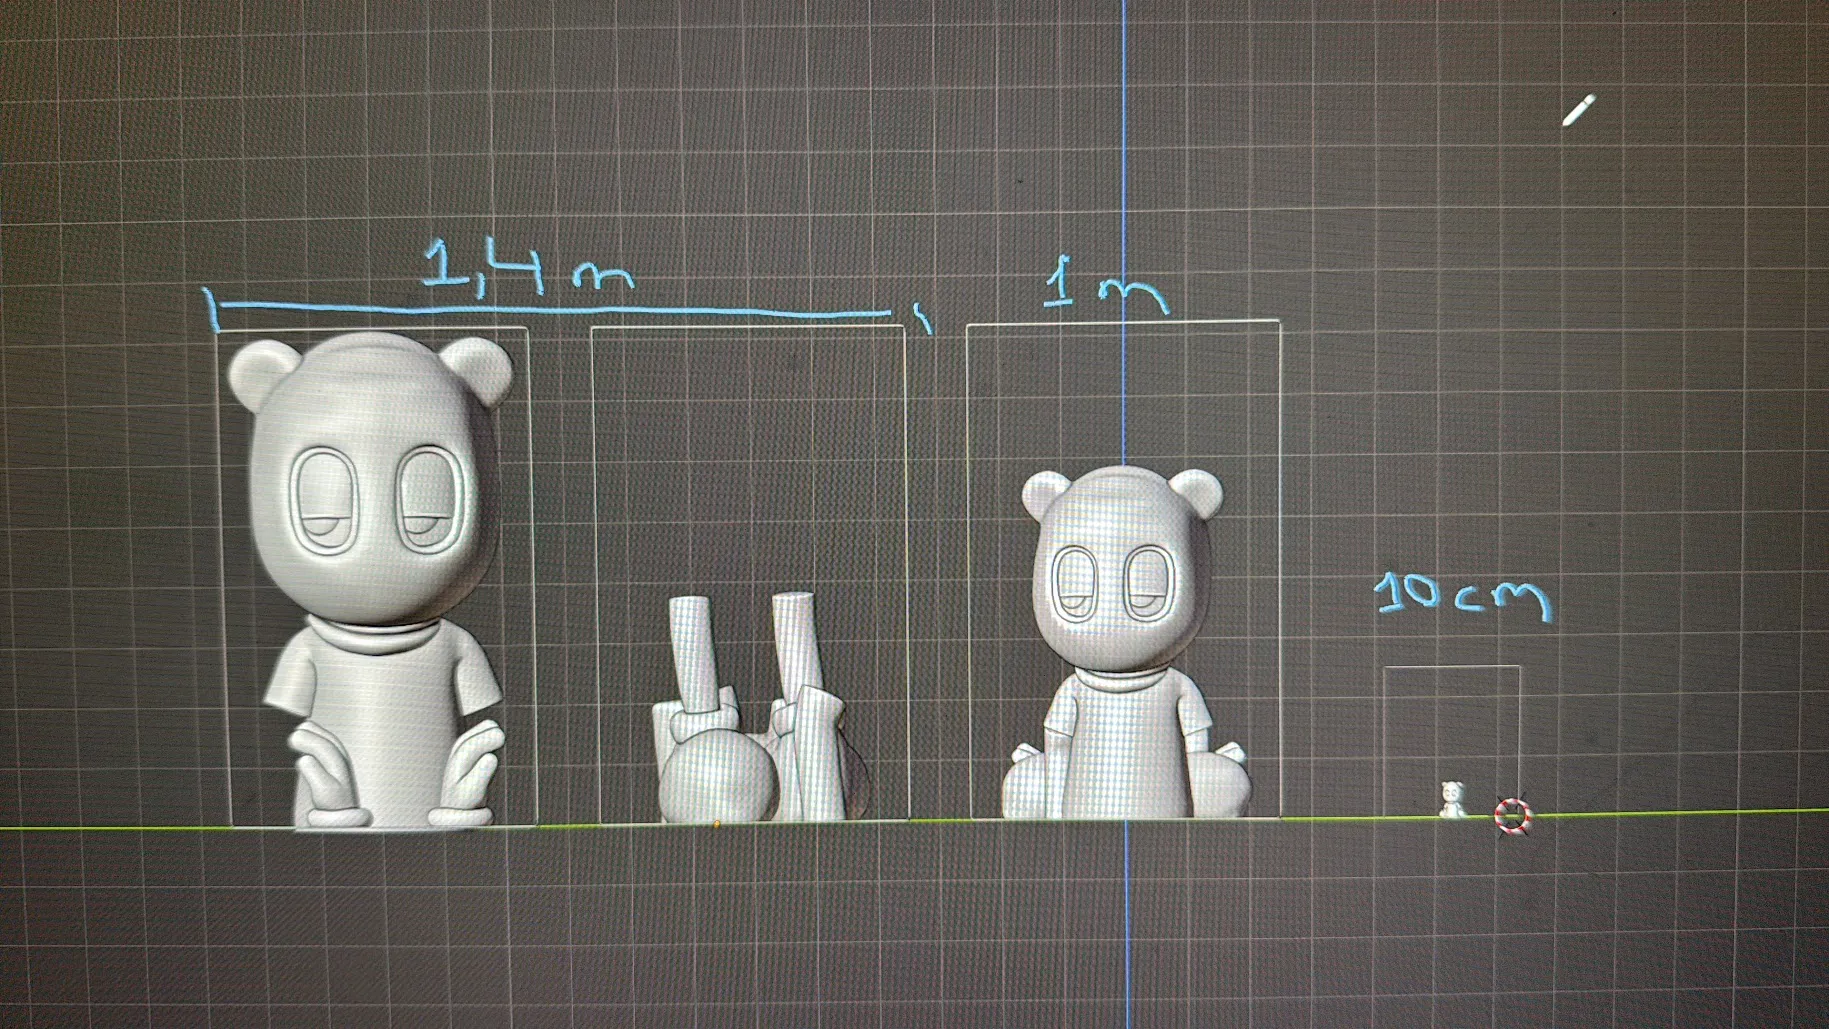
When it comes to FDM printing, gravity is a b1thc :).

Written by EdgeLimits
Touch and weight are the two things that separate a chess piece from a plastic toy.
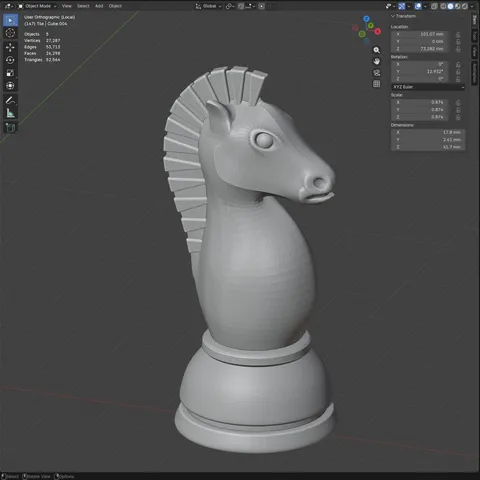
Read storyCheeks too big and it is a cow. Too small and it is a dog. Somewhere in between there is a horse, and it took me 8 hours to find it.
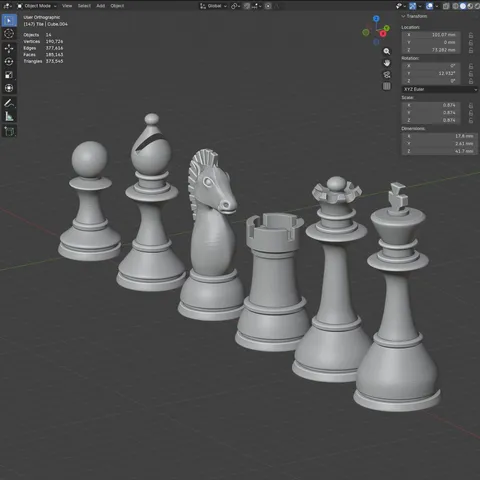
Read storyA chess piece and a UI component have a common denominator: they should both be distinguishable and recognizable.
Read story