3D Modeling
Devlog #2: Adding Weight and Printing the Final Set
Touch and weight are the two things that separate a chess piece from a plastic toy.
Read storyI was always willing to learn Blender, but I never had a good reason to do it.
Until … I have received an Ender 3 Pro 3d printer as a gift, but what is the point of having a 3d printer if you cannot create your own 3d assets. It is like having a kitchen, but ordering takeout every day.
And while at it, why not learn a tool that also enables you to create 3d assets for video games.
One stone, two birds. So, finally I had a good excuse to learn Blender more thoroughly.
I found a great course on Udemy called Udemy Course: Blender Character Creator for Video Games. I have no affiliation with the course, just a happy student. If you want to learn Blender and understand the full pipeline of creating a 3d character from scratch, this is a great course to start with.
The full pipeline includes: Concept & References, Blockout, Sculpting, Retopology, UV Unwrapping, Baking Maps, Texturing & Materials, Texture Painting, Rigging, Weight Painting, and Lighting & Rendering.
I’ll touch on each of these steps below, but just to give you a glimpse of what the process involves. Sadly, I didn’t take screenshots of every step, but you’ll get the idea.
This step is about gathering references and inspiration for your character. In this case it was provided by the course instructor. This is a super important step as it will lay the foundation for your character’s design.
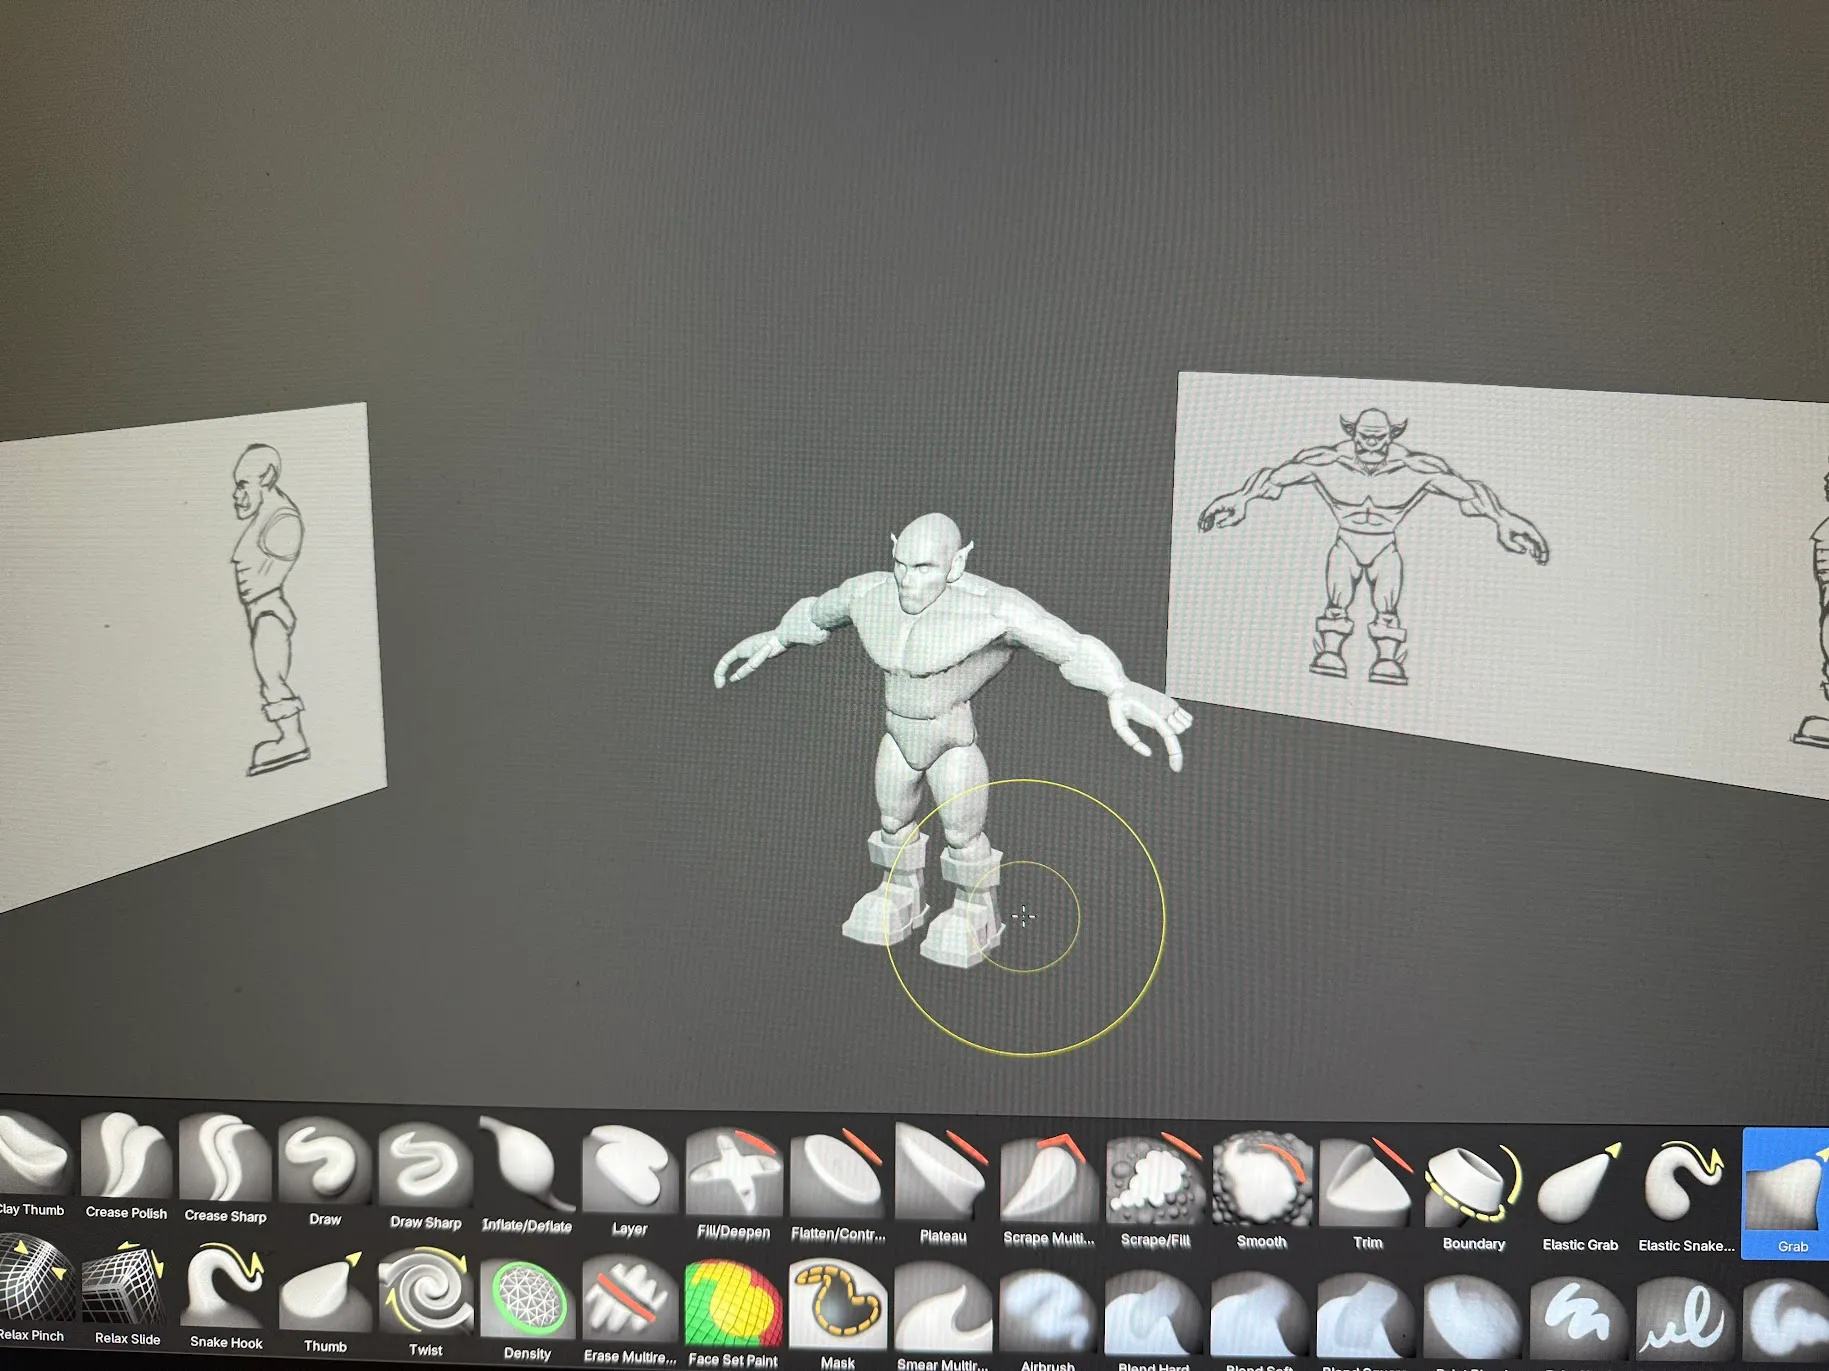
Blockout or Base Mesh is a process where you use primitives (like cubes, spheres, and cylinders) to create a simple low-poly version of your character, to define the overall proportions and shape. For this Orc character it was mostly cubes.
High-poly sculpting / modeling is a process where you create a high-detailed version of the model, adding complex details like wrinkles, cracks, and surface imperfections.
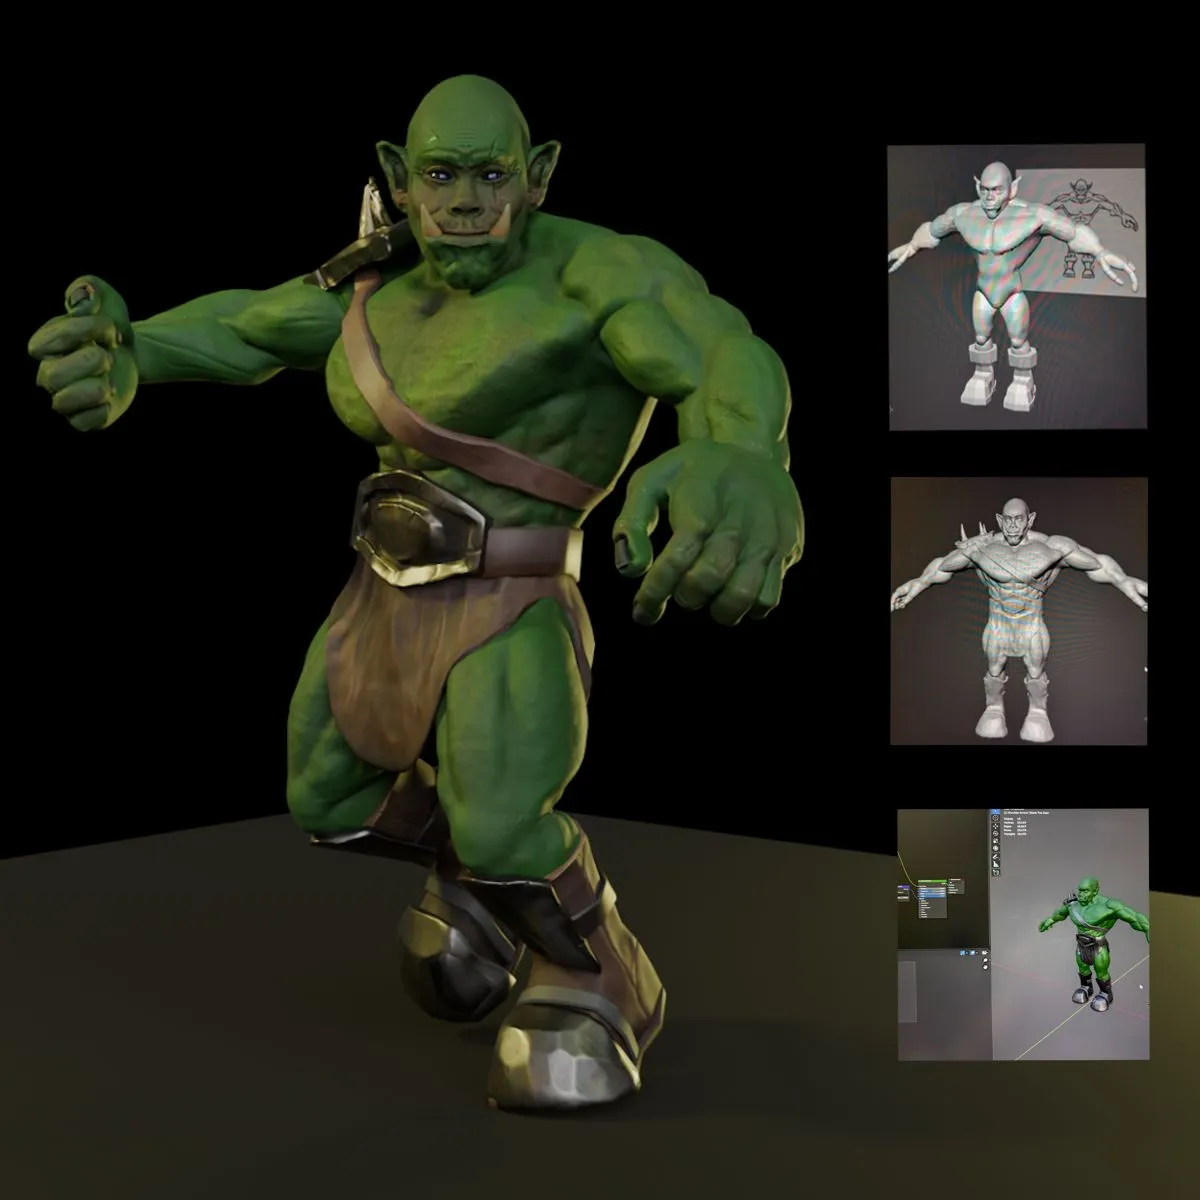
Here are two screenshots of the process. You can also see the reference images.
And the final result of the sculpting process:
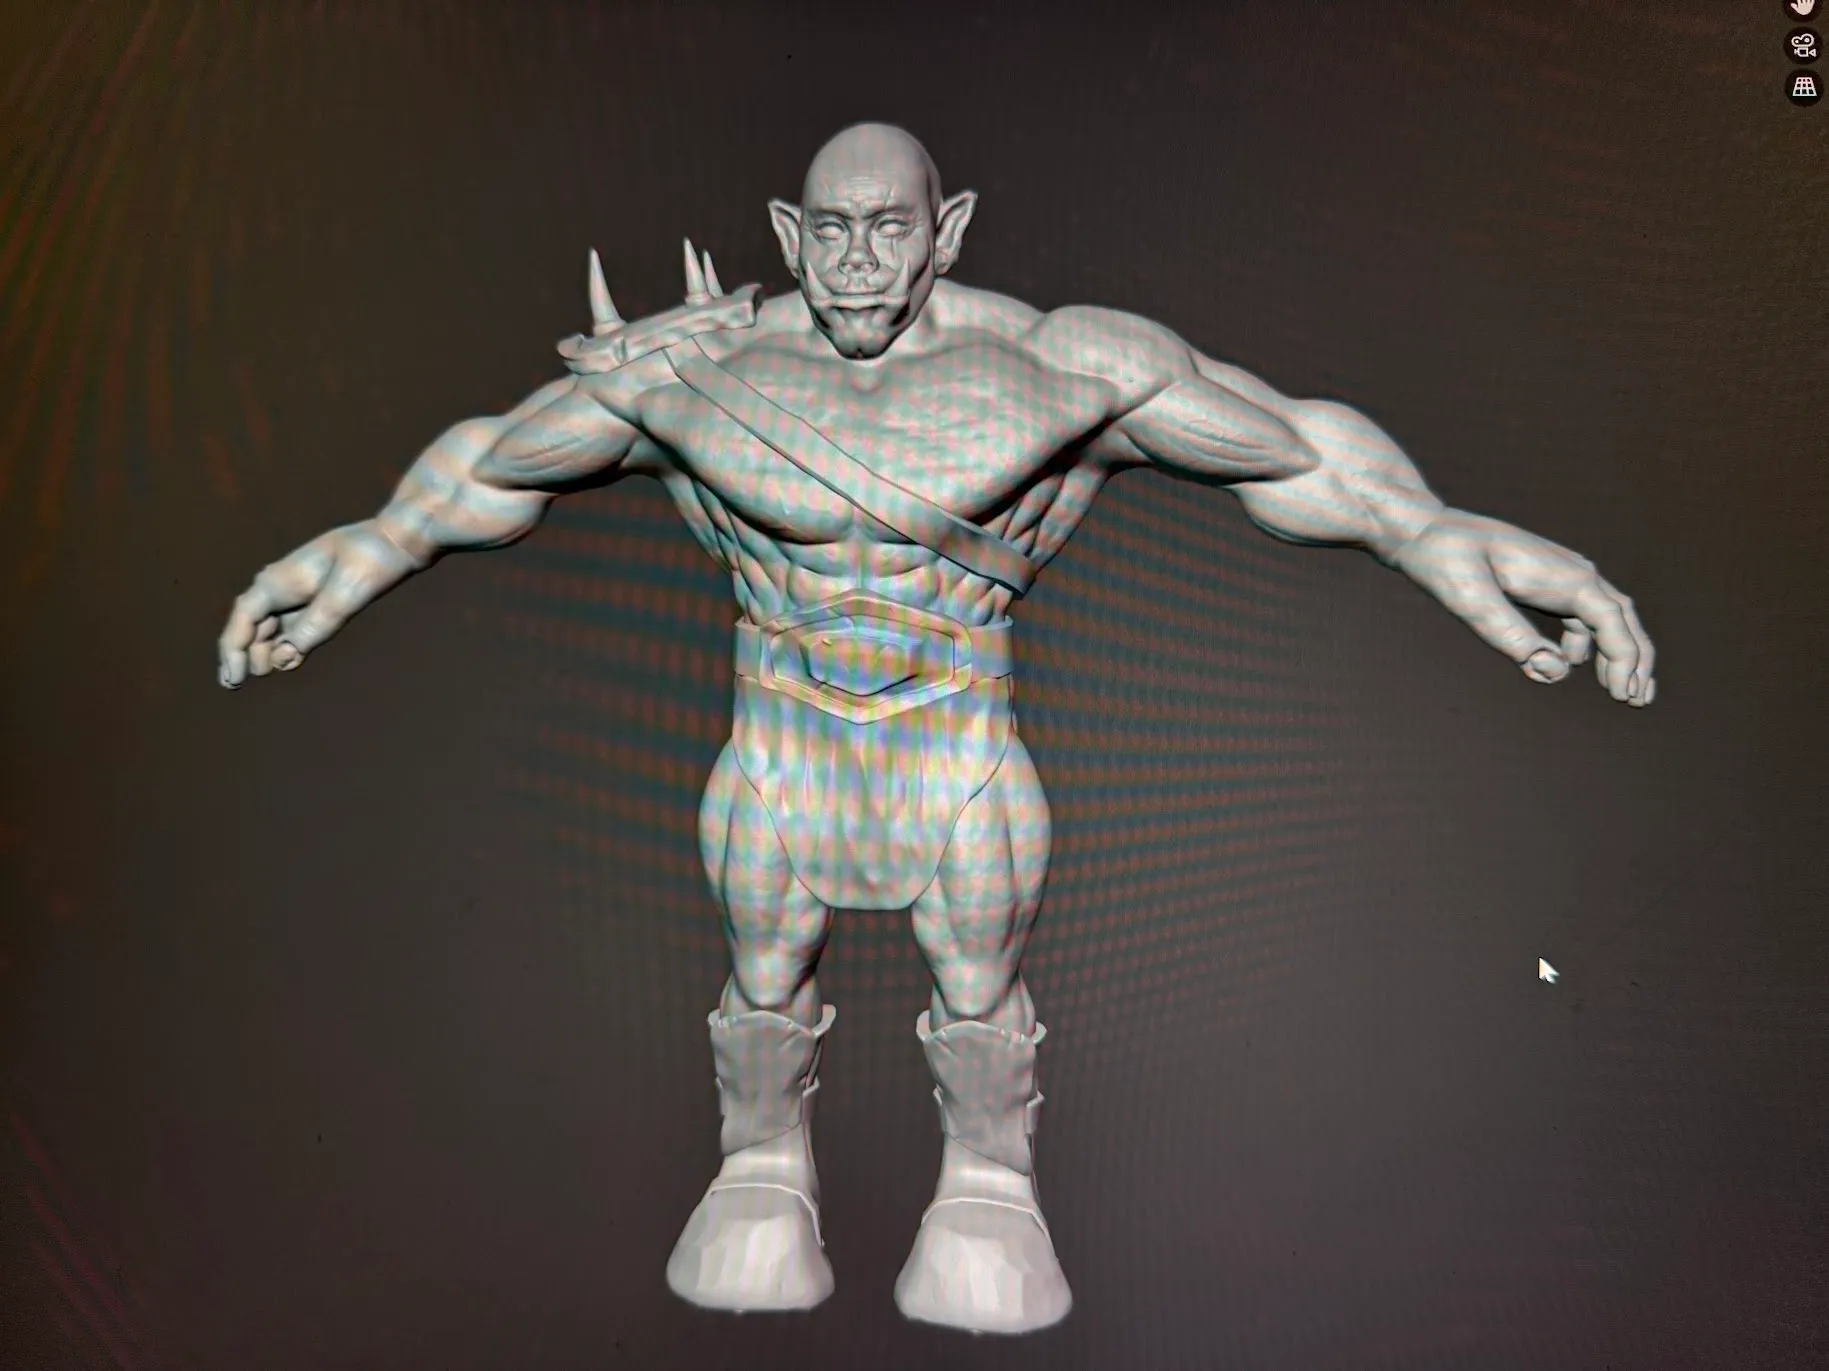
I have to confess, this was my favourite part of the process. It felt like working with digital clay.
Now that the high-poly sculpt object is ready, we need to “convert” it into a low-poly mesh. This is necessary for game engines to be able to render the character in real-time without heating your room from the GPU usage. It also improves the Blender performance.
Even though it is possible to automate the process, manual retopology is preferable as it provides more control over maintaining edge flows and loops for better deformation where it is needed, for example, around the joints.
It is when you flatten the 3d surface into a 2D texture map. By marking seams, the UVs are organised efficiently to avoid stretching.
Bake high-poly details (from the sculpted model) into texture maps for the low-poly model.
Common baked maps:
This step is all about creating the character’s appearance. Using the baked maps, you can create realistic textures and materials for the low-poly model. This includes skin, clothing, and accessories.
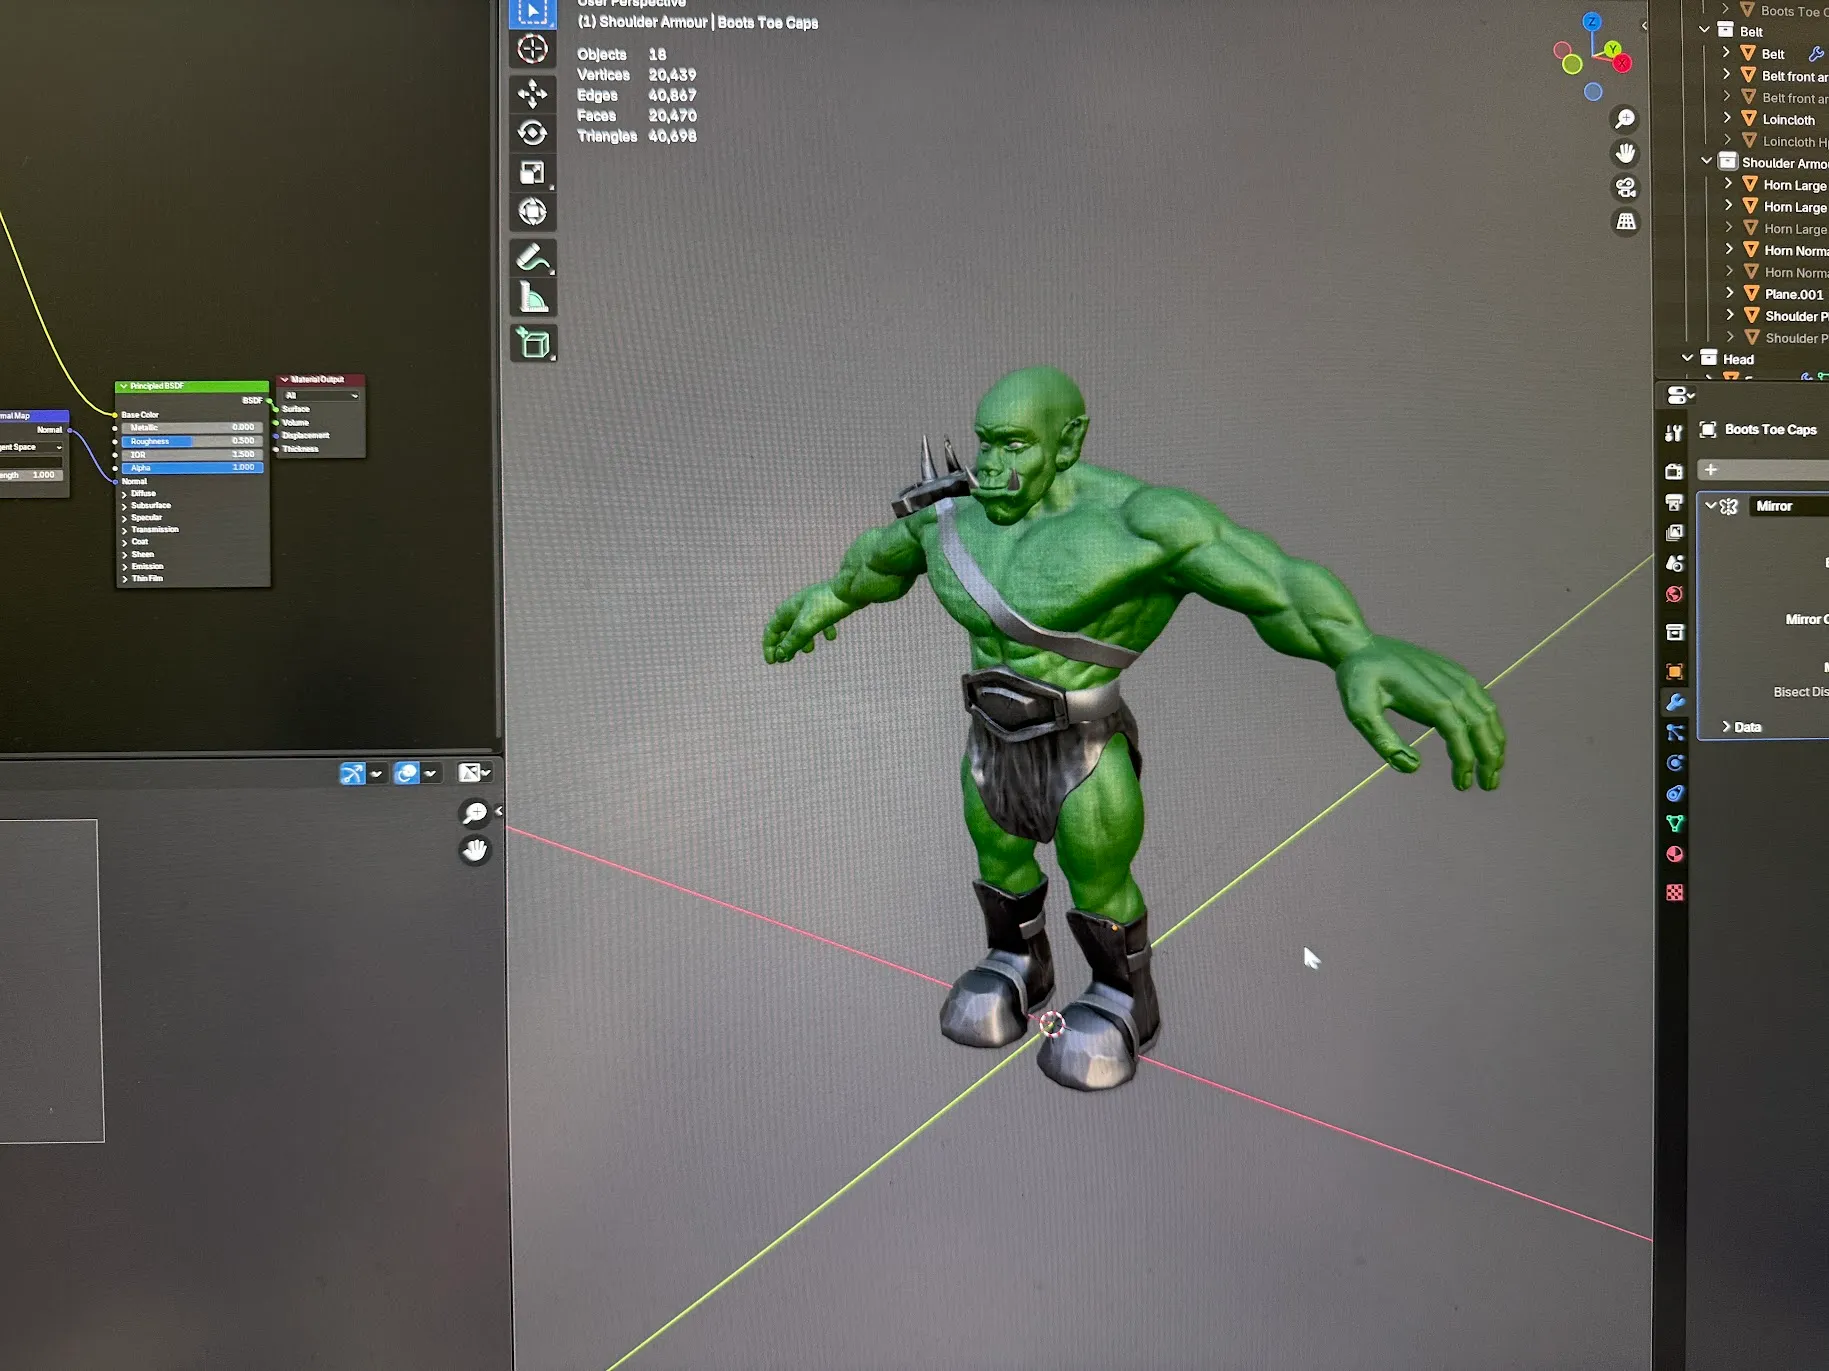
During this step, you will paint additional details directly onto the model’s texture maps. The tutor really liked this step :)
OK, this was the most challenging part for me. As you need to attach a skeleton to the Orc mesh, in the hopes that it will deform correctly when animated or posed. This is where the importance of edge flows and loops comes into play. So, do not underestimate the retopology step.
And this is the step where you will cherish the results of your hard work. This is where you “bake” the image with your GPU. It was always amusing to hear the fans spinning when hitting the render button — it felt mechanical, like an actual workbench.
Here is the final result of the project. I didn’t decide on what to put in his hand, a battle axe or a bunch of flowers, but I needed to draw a line somewhere, and this was it.
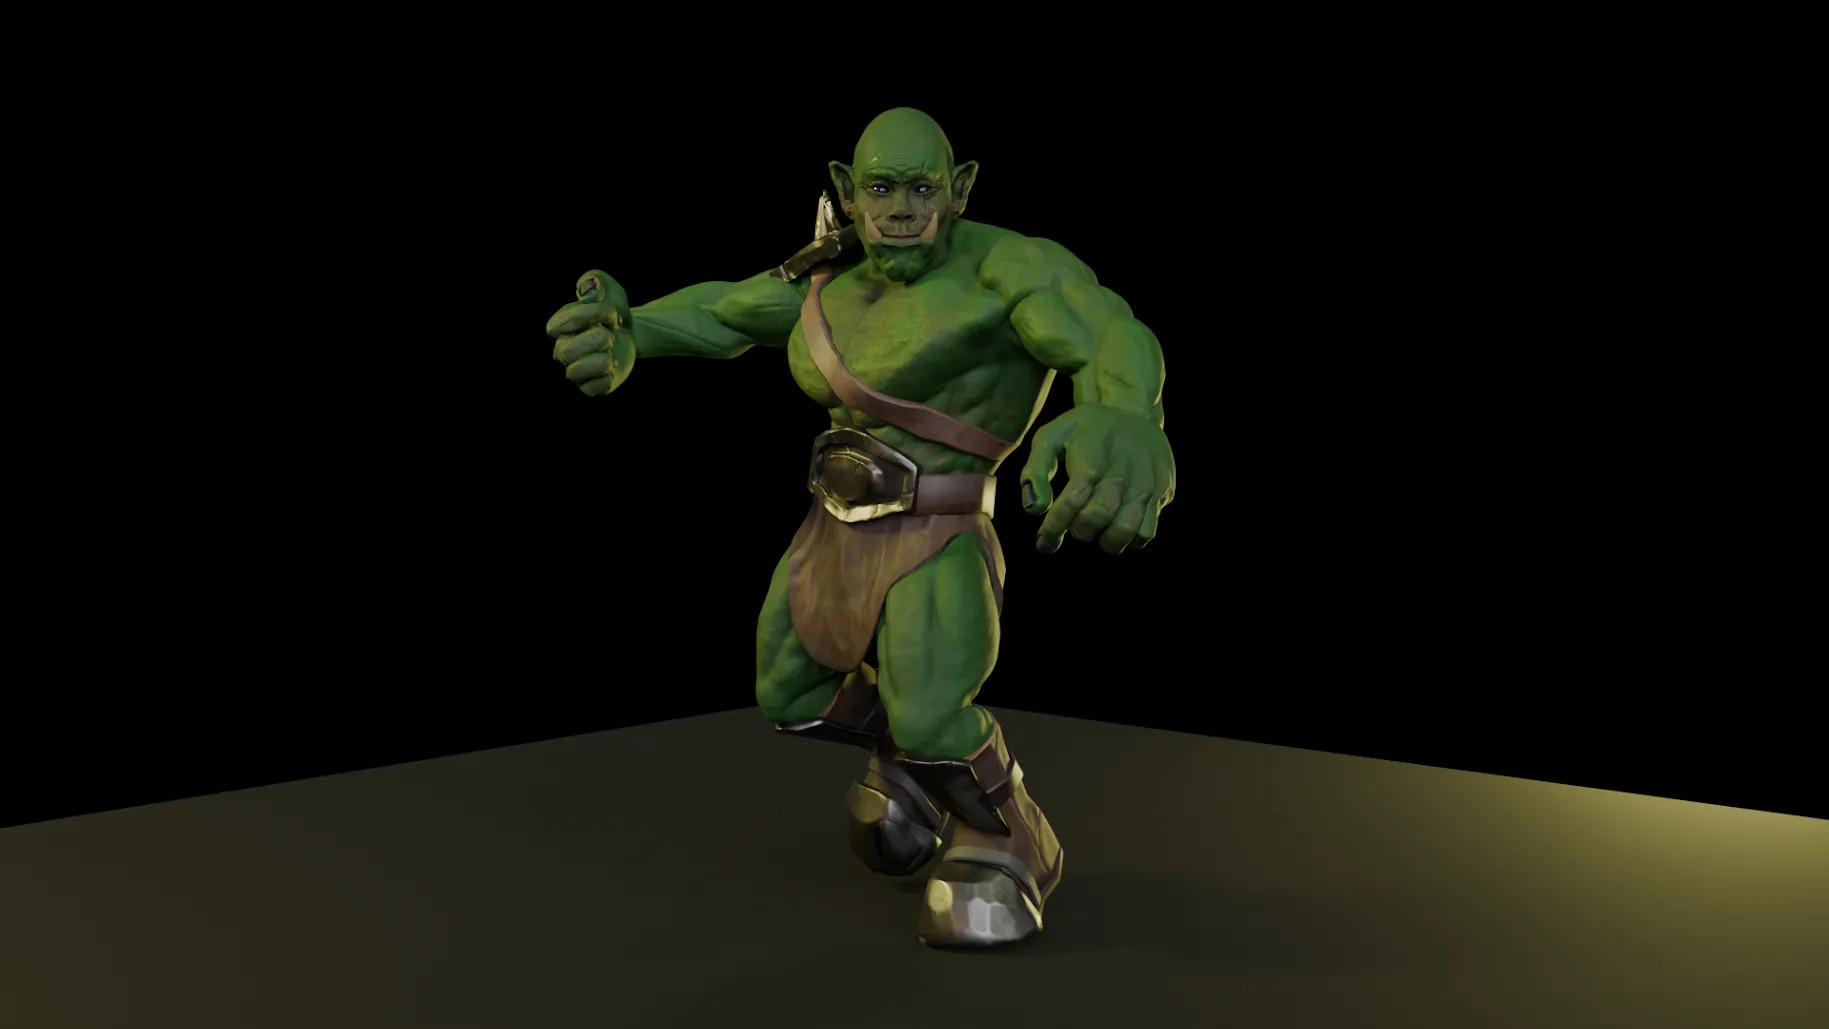
Made me appreciate the work that goes into 3d modeling and sculpting. I enjoyed sculpting the most. It felt like working with digital clay. The retopo (retopologizing - making a low-poly mesh from a high-poly sculpt) also was a fun and interesting challenge. Would definitely recommend to a friend.
As you may have noticed, this article covers only the 3d modeling part, as my primary goal was to learn Blender, but then I stretched it a bit further, and asked myself: “can I 3d print this?”

Written by EdgeLimits
Touch and weight are the two things that separate a chess piece from a plastic toy.
Read storyCheeks too big and it is a cow. Too small and it is a dog. Somewhere in between there is a horse, and it took me 8 hours to find it.
Read storyA chess piece and a UI component have a common denominator: they should both be distinguishable and recognizable.
Read story