
Devlog #3: Enter the Sand(ing)man
Getting Shmulis smooth meant three rounds of sanding - plastic, glue, and putty - and a lot more microplastics flying around than I signed up for.

The great saga continues: The sanding
This was probably the most patient and time-consuming part of the whole project. During this quest:
- I had to sand the plastic to get rid of the imperfections.
- Then, I had to sand the glue to get rid of the seams.
- And finally, I had to sand the sprayed putty to get a smooth surface for painting.
Let’s start with the first part: sanding the plastic.
The ugly truth about plastic sanding
The first ugly truth is that the big prints are not as smooth as you would expect. As you can see in the picture below, the surface is rough and has a lot of imperfections that need to be sanded down.
I used the Dremel rotary tool with a sanding attachment, and it was a messy process. The first thing I noticed is that if you go on high revs (revolutions), the plastic melts and sticks to the sanding attachment.
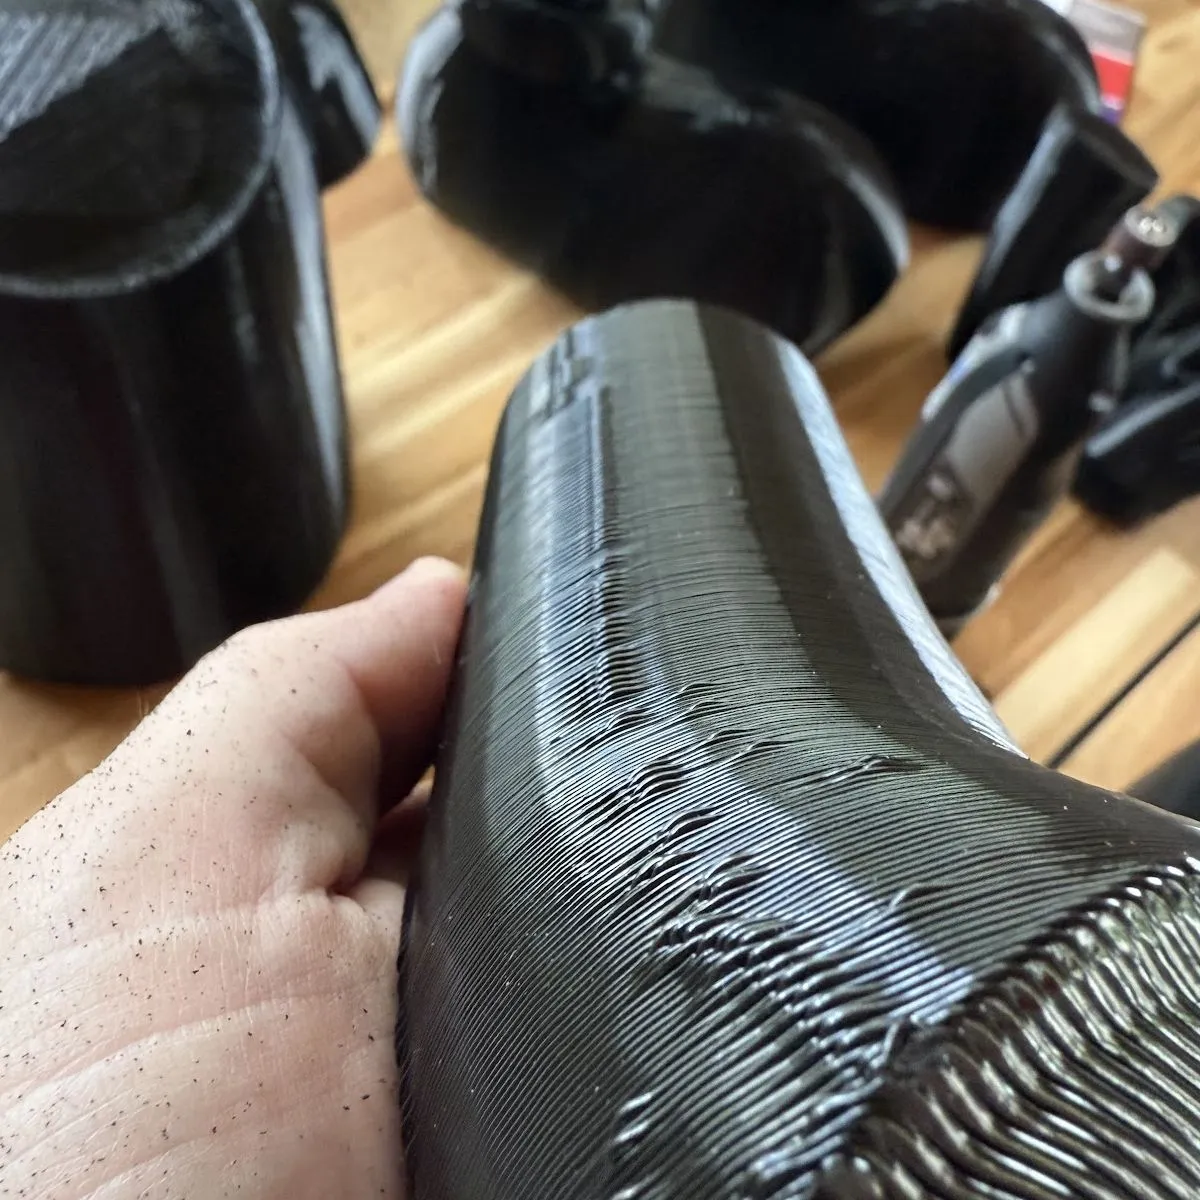
But the second (and the most important) truth is that microplastics fly everywhere. Worrying about the microplastics from the food packaging becomes a joke when you see the amount of microplastics flying everywhere (see my hand in the picture above).
All I can say is: “Use protection!”
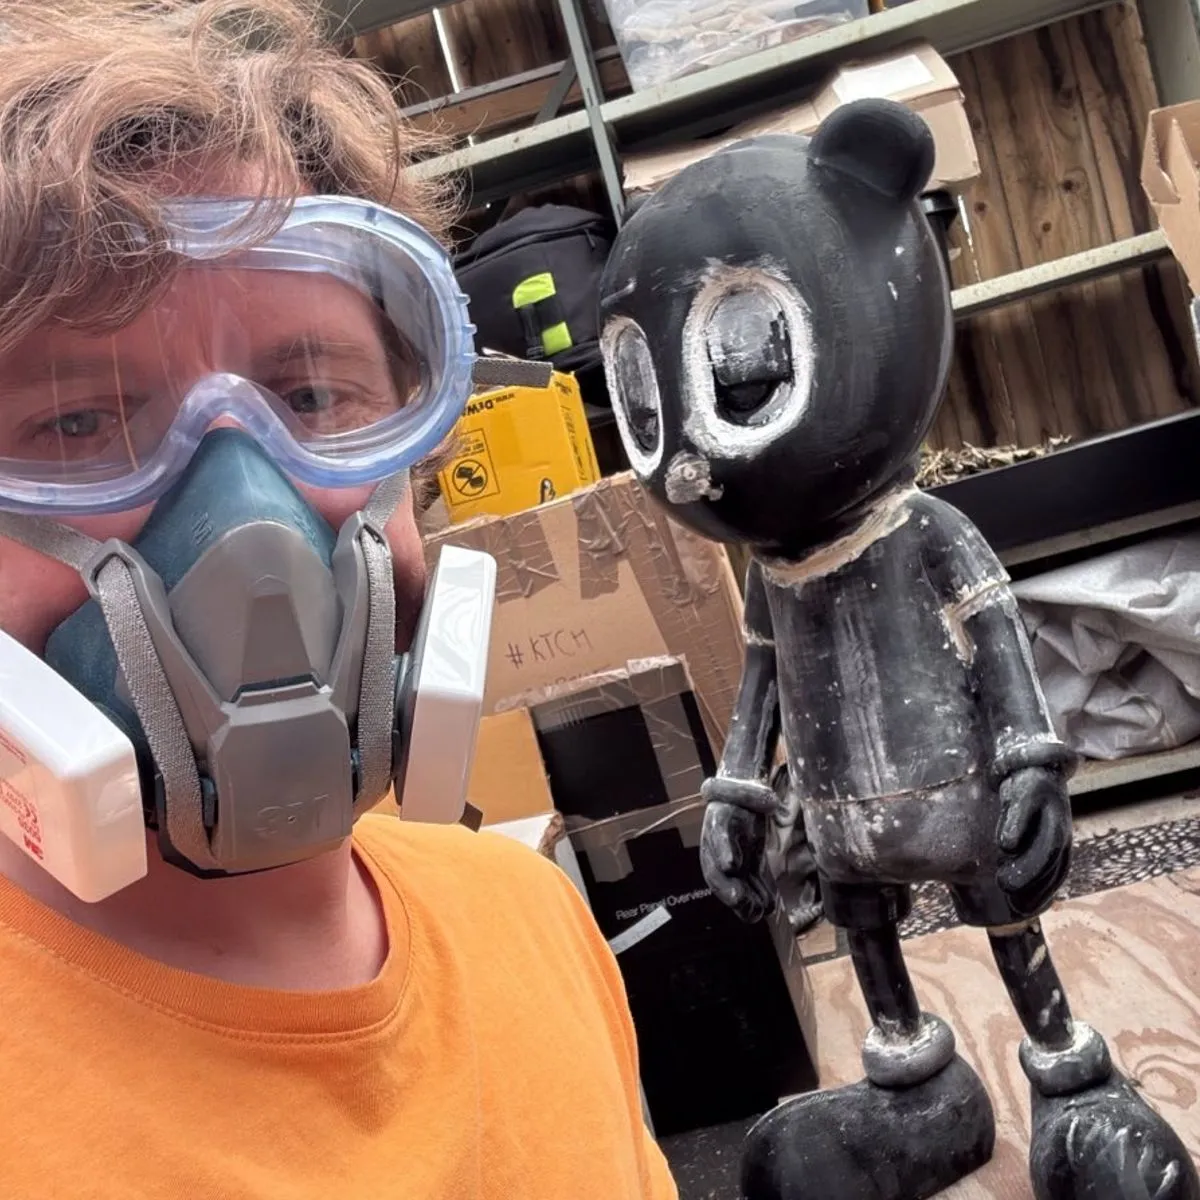
The hidden recipe of sanding the plastic: Alternate between locations, the moment the surface starts to get warm, jump to the next one.
Sanding the glue
I’m gonna put this out there: there is no such thing as sanding the hot glue. It is like trying to sand a candle or a chewing gum. So I had to remove the hot glue from the seams, and fill the gaps with putty.
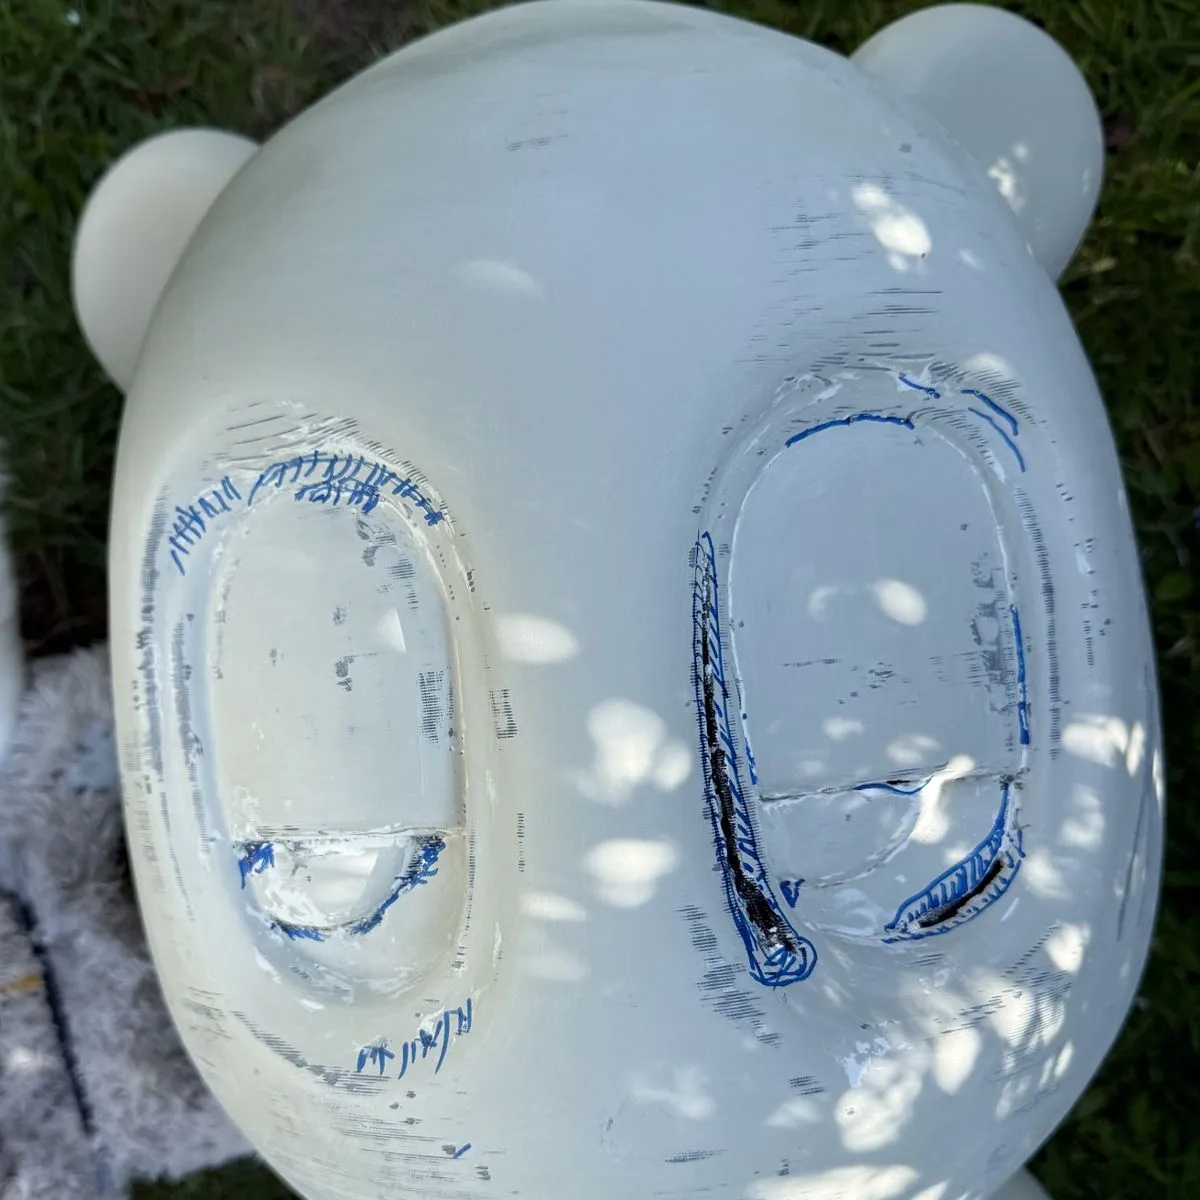
On the other hand, sanding the polyester resin was a breeze. It was harder than putty, but still easy to sand. Could recommend it to a friend. :)
Sanding the putty
It was the first time during this project that I could finally see the light at the end of this long tunnel. Putty was hiding the imperfections of the plastic and the glue, and it was a joy to sand it down. It was pure Stockholm syndrome, as I was enjoying the sanding process, but at the same time, I was looking forward to the end of it.
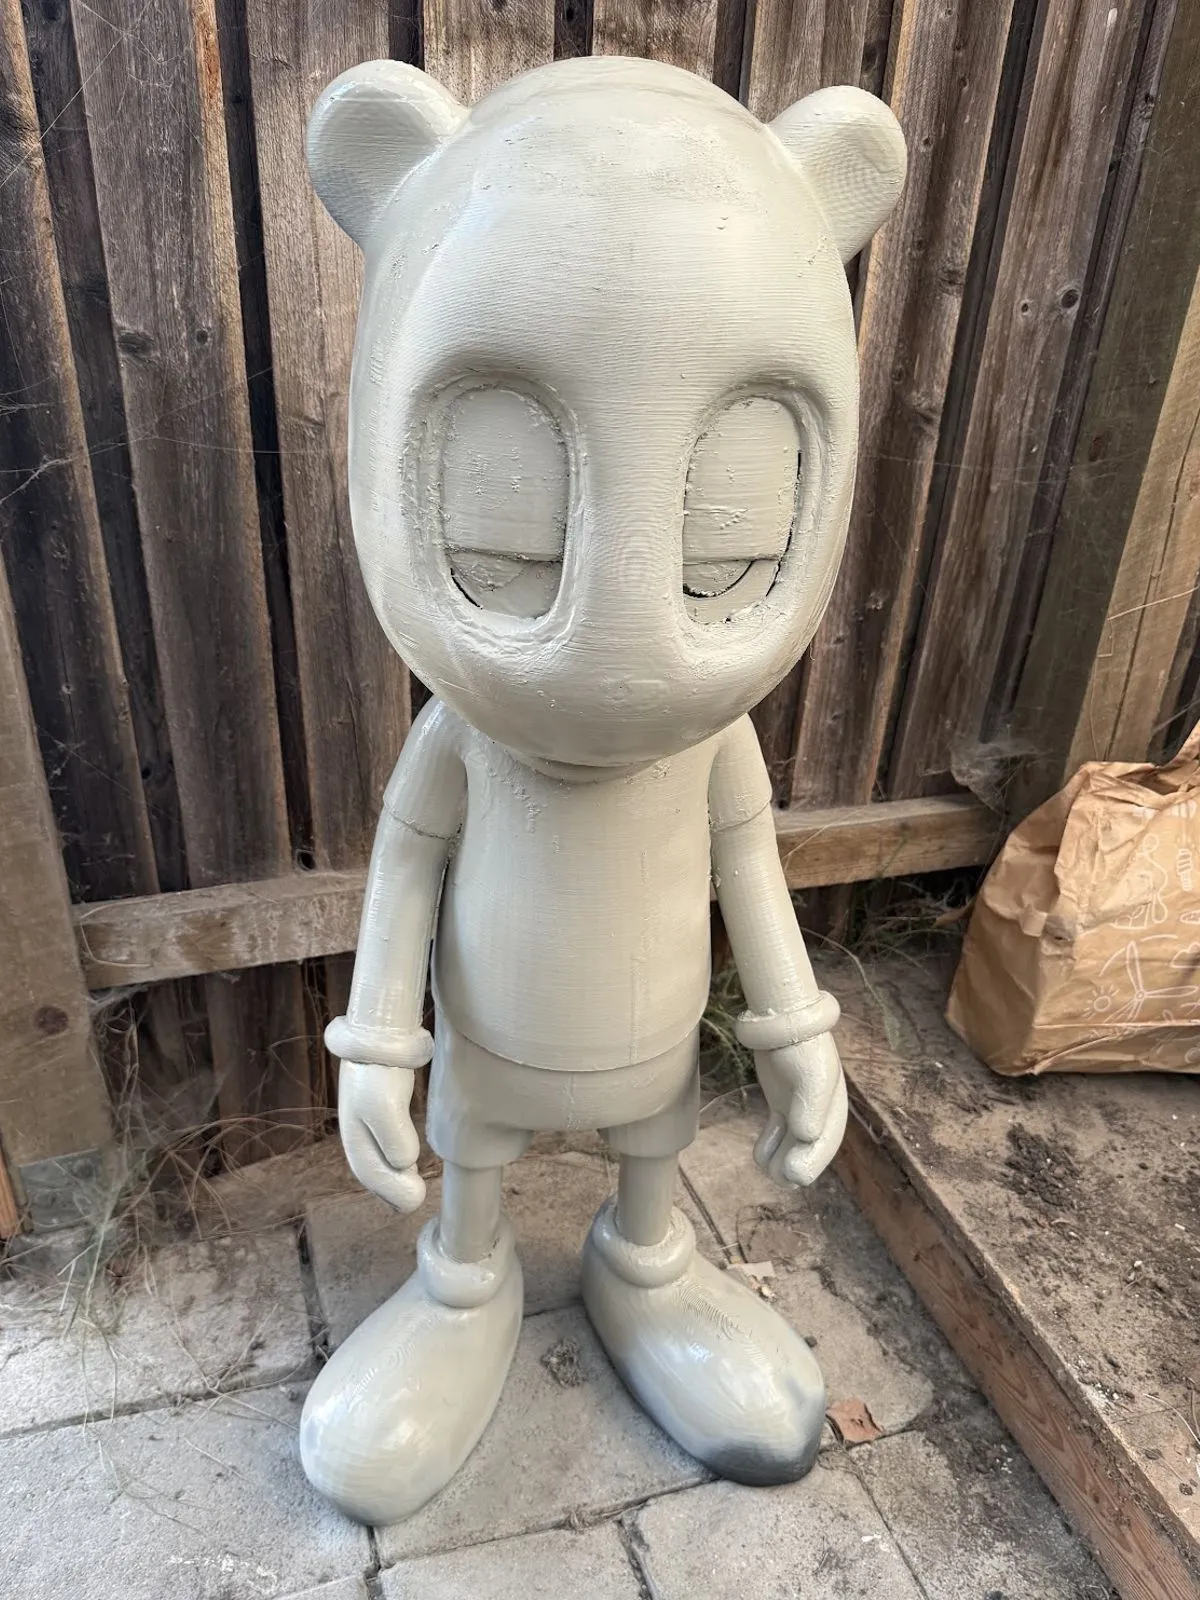
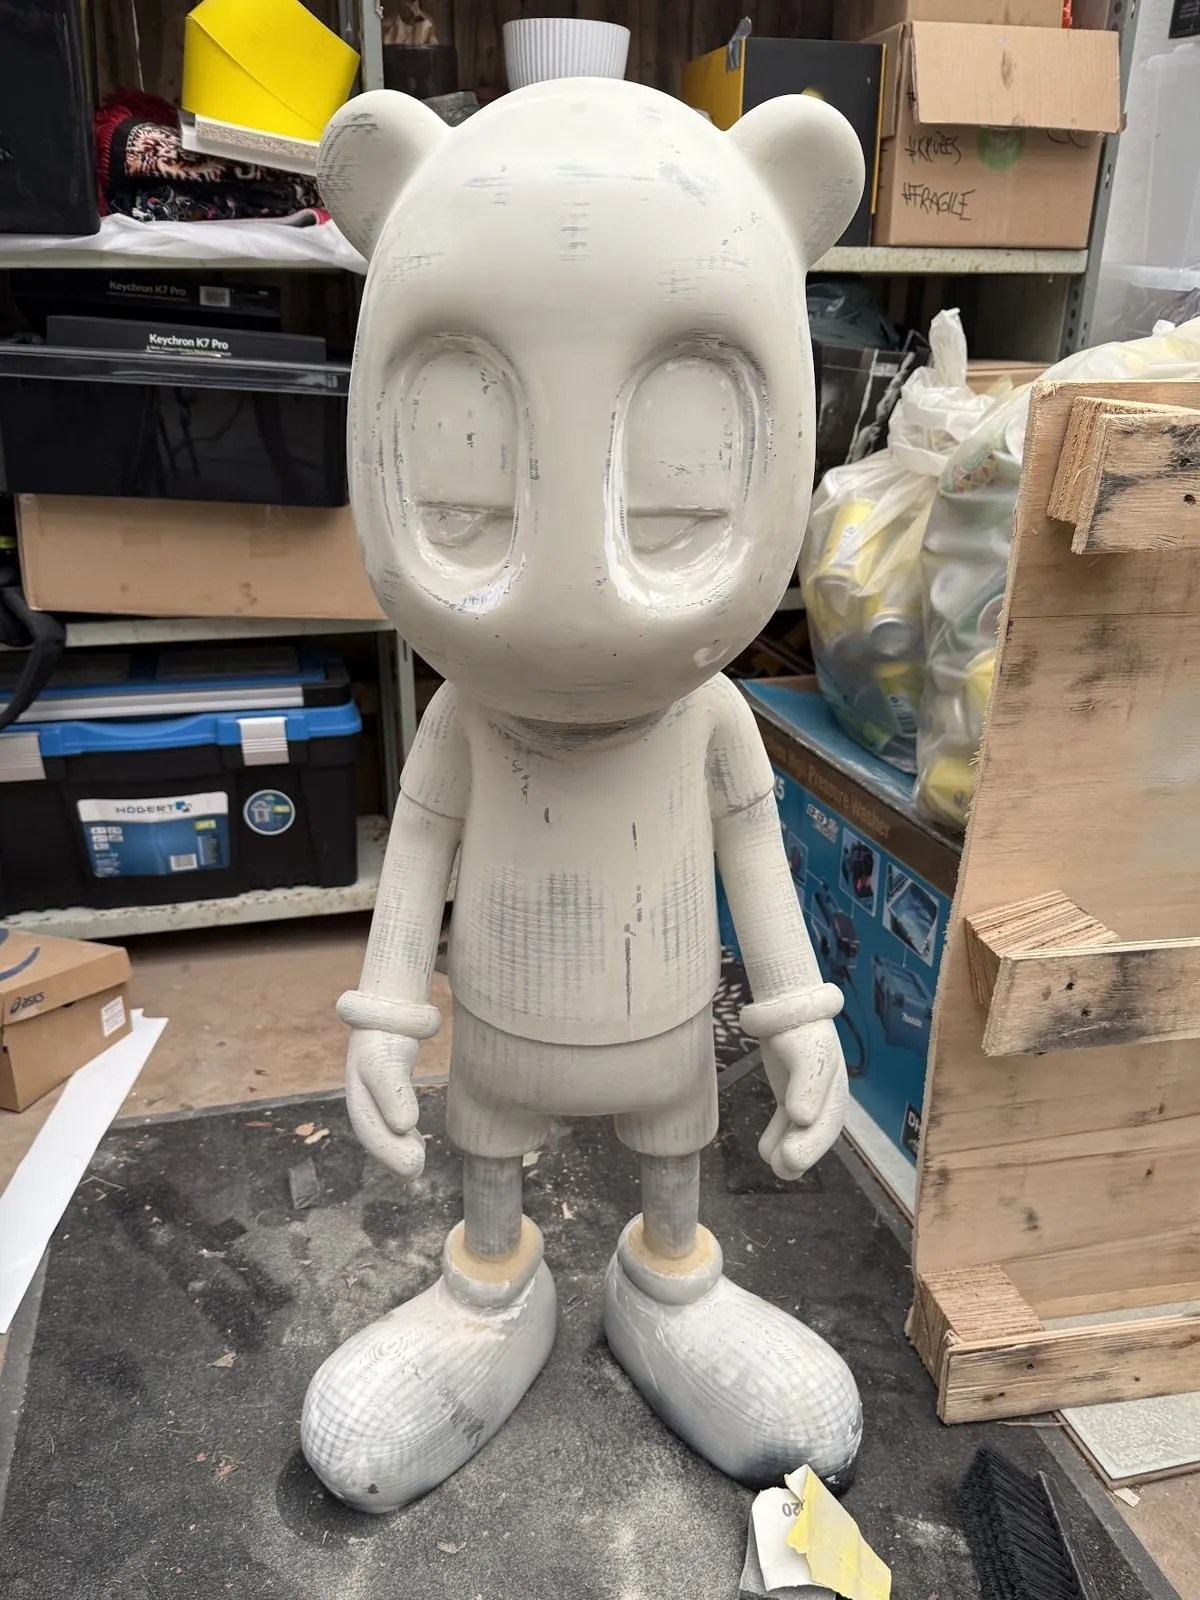
If you pay attention to the joint between foot and leg, you can see a freshly applied polyester resin, here is what happened there.
Five putty spray cans, and a lot of P40 and P180 sandpaper later, the sanding was finally done. Thanks a lot to my in-law brother Emil for helping with the materials.
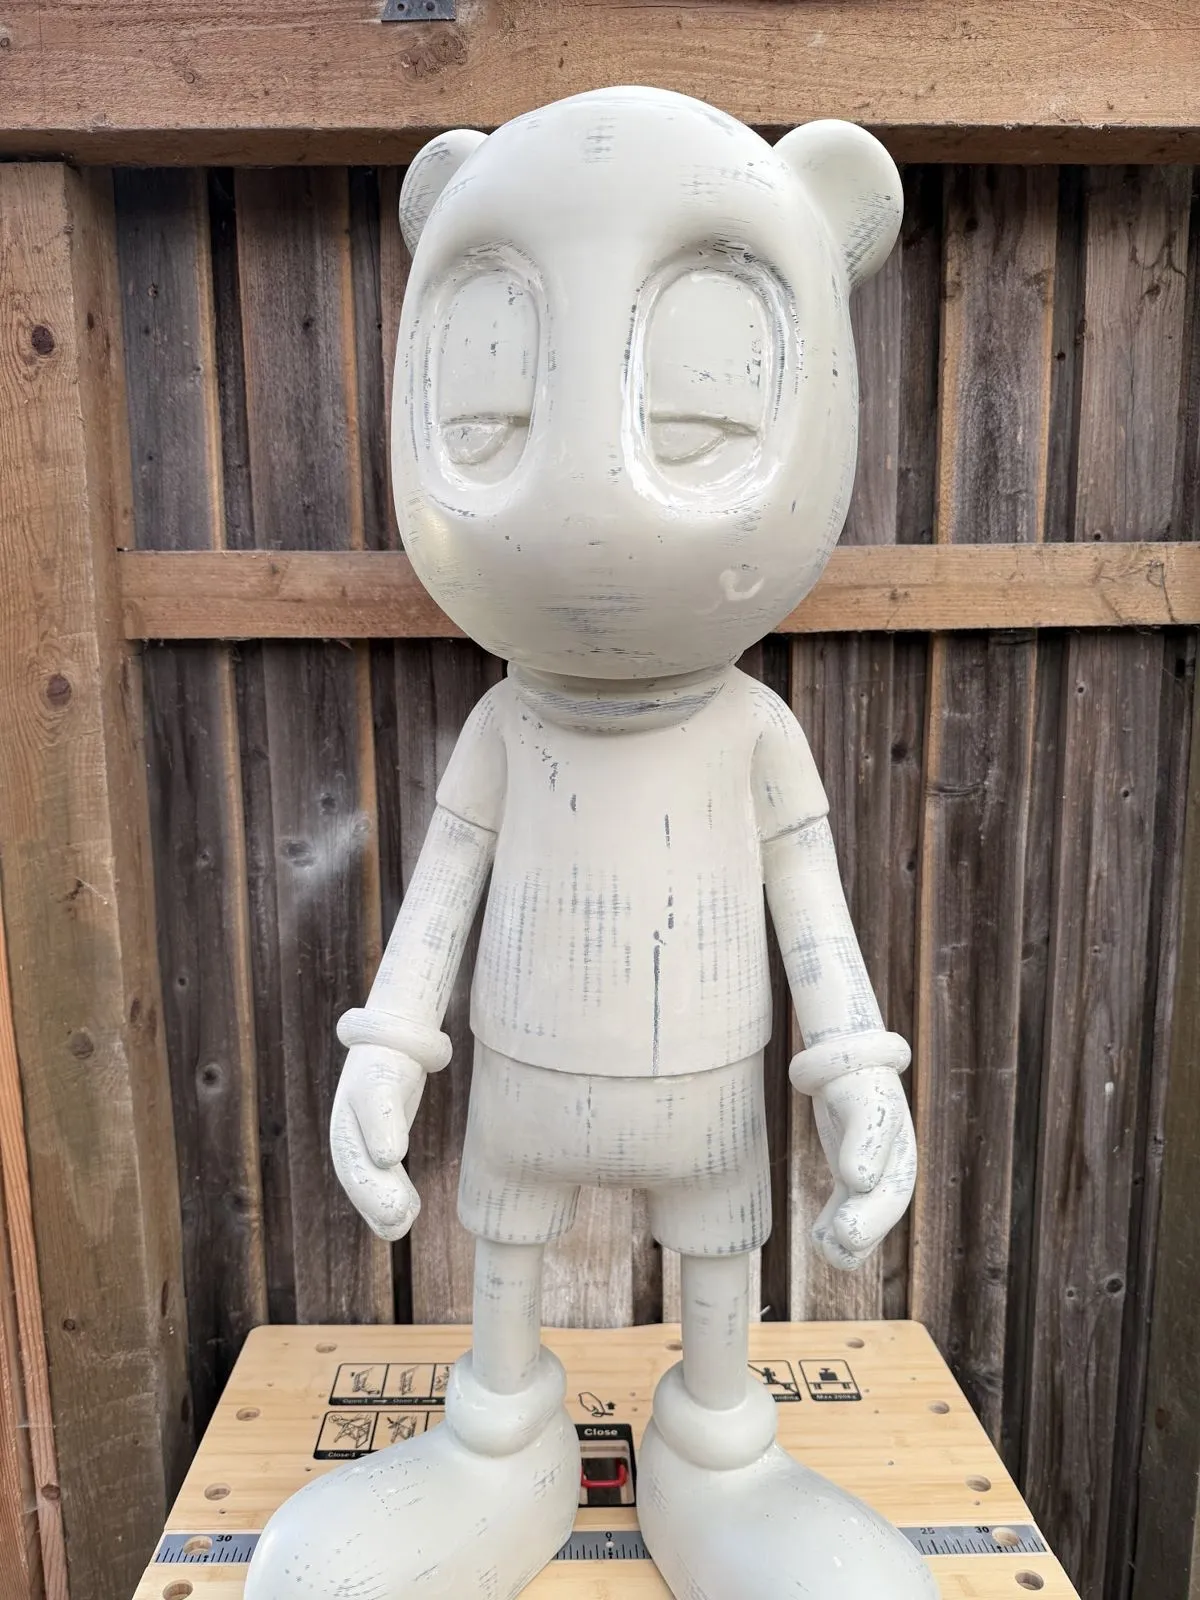
Current breakdown of the materials used for sanding:
- 5 spray cans of putty (400ml) - 5 x 12 EUR = 60 EUR
- 2 tubes of putty (250g) - 2 x 5 EUR = 10 EUR
- 1 roll of P40 sandpaper (50m) - 1 x 17 EUR = 17 EUR
- 1 roll of P180 sandpaper (50m) - 1 x 17 EUR = 17 EUR
Total: 104 EUR just for the sanding materials. And a lot of time and patience. Based of the image time stamps, the sanding took around 4 weeks.
Lessons learned
It was a good strategy to get rid of the plastic imperfections first, before applying the putty. As then I could focus on the sanding and smoothing the putty. Don’t rely on the putty to fill the imperfections of the plastic, as it is much easier to sand just one type of material.

Written by EdgeLimits