
Devlog #2: Wiring the Matrix (HDMI)
Wiring the HDMI matrix was the proof of concept the whole temple depended on. If it failed, at least I would be left with a nice piece of furniture.
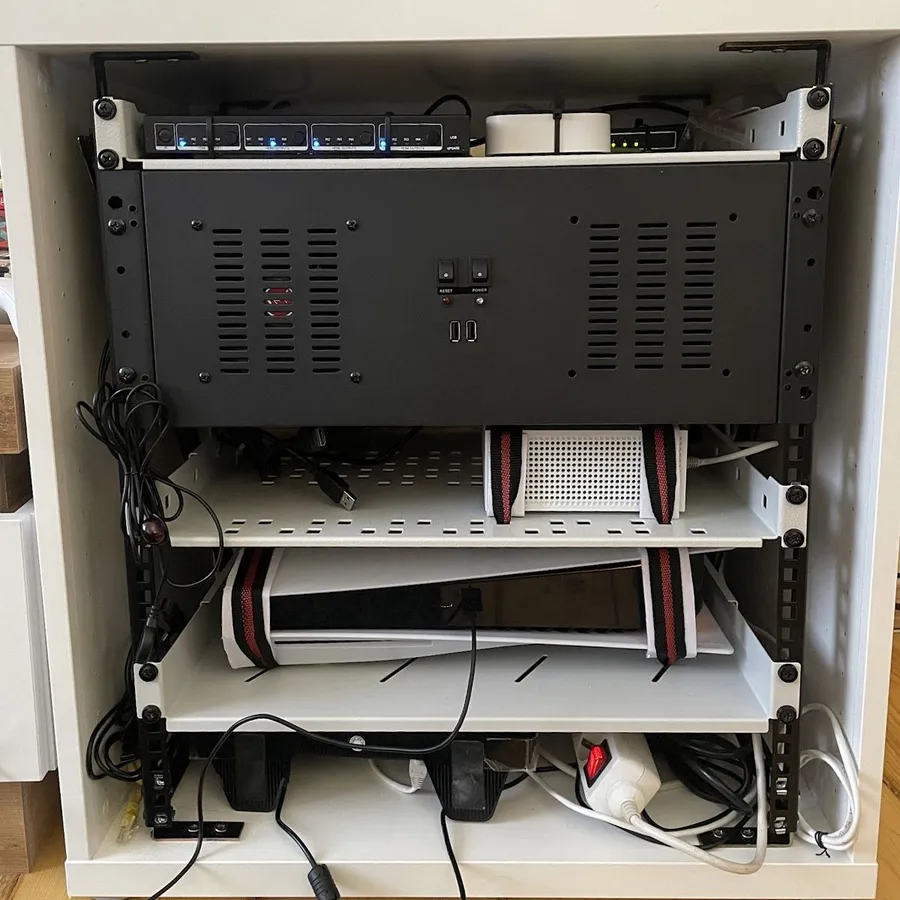
With the shell built, it was time to do the proof of concept and wire the HDMI matrix. I know, I should have done this before all the work on the server rack, but if it did not work, I still would have a nice piece of furniture to store all my stuff in.
The heart of the system: HDMI Matrix 4x4 4K@60Hz
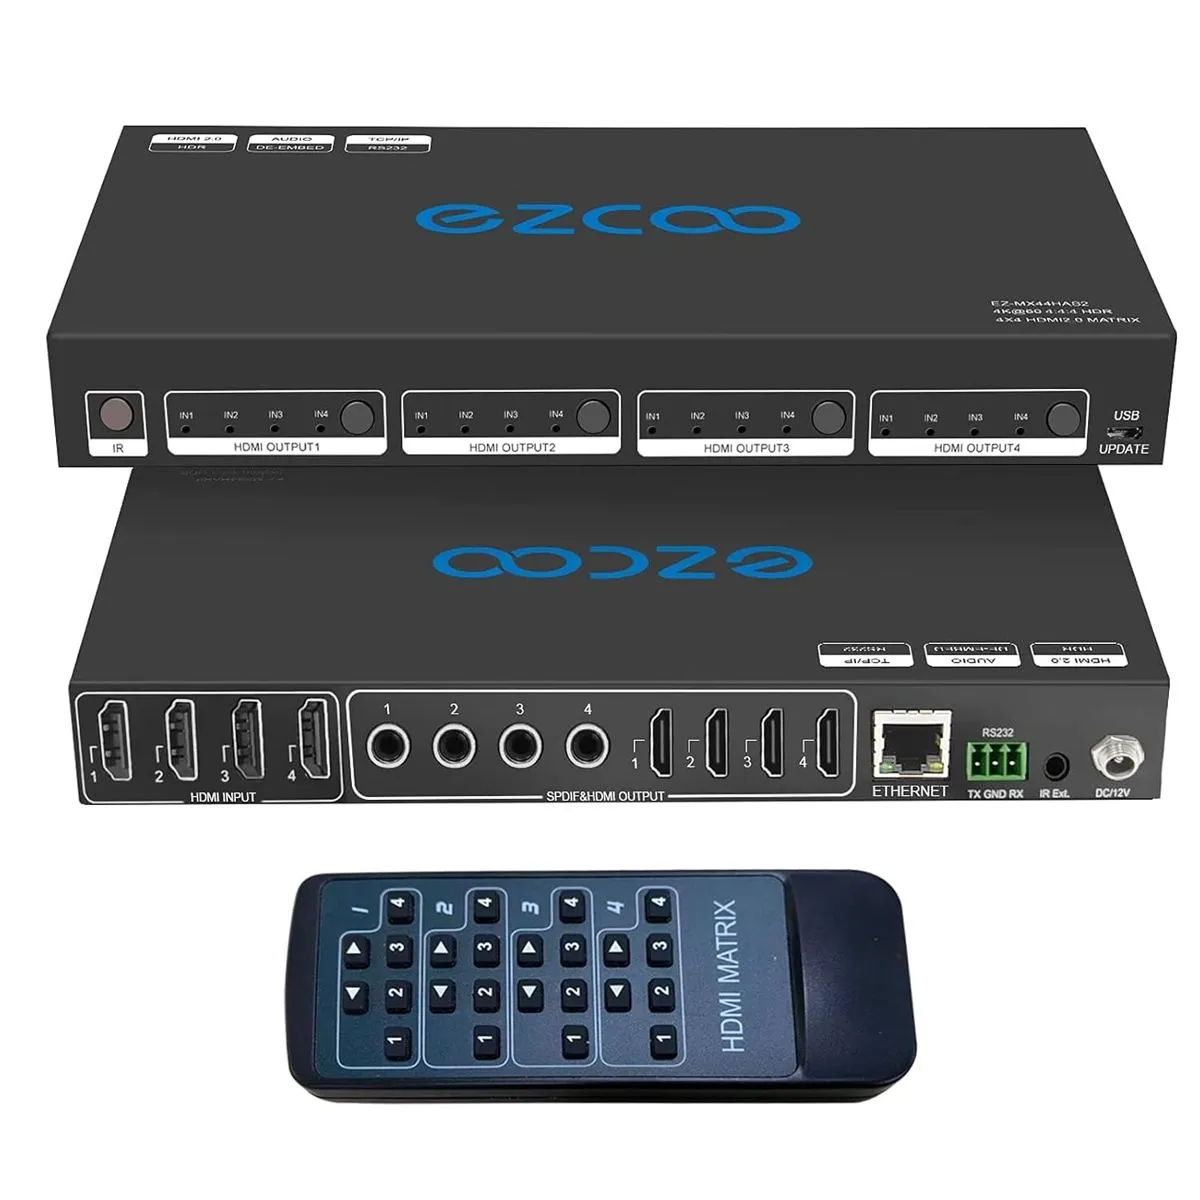
Its full name: HDMI Matrix 4x4 4K 60Hz 4:4:4 HDR Coaxial Audio Breakout HDCP 2.2 HDMI 2.0 Matrix 18G/Bits with IR Receiver Remote IP Control.
What does it mean? It means that I can connect up to 4 HDMI sources and route them to as many as 4 displays, all at 4K, at the same time. And you can control it with an IR remote.
What is the caveat? Your display must support 4K@60Hz and HDMI 2.0, otherwise you will be limited to 1080p. No middle ground.
The wiring diagram
    PS5  ──────┐                         ┌───▶  TV
               │    ┌───────────────┐    │
    Xbox ──────┼───▶│  HDMI MATRIX  ├────┤
               │    └───────────────┘    │
    PC   ──────┘                         └───▶  Monitor
     ▲
     └───────────────── USB ──────────────────  Keyboard + Mouse
Three sources in, two displays out - so one input and two outputs were sitting there unused from day one. Room to grow.
Important note: this is not a KVM switch; the USB has to be connected directly to the PC.
But for a proof of concept, it was more than enough for me. I could easily work at the workstation, and when I was done, I could switch to PS5 or Xbox at the click of a button. If I wanted to move to the couch and continue playing on the TV, I could do that too.
The secret sauce: good quality cables
If you are in a store to buy HDMI cables and the box just says “HDMI cable”, you are in the wrong store. HDMI cables come with version numbers, and those numbers actually mean something:
- HDMI 1.2: supports 1080p
- HDMI 1.4: supports 4K@30Hz
- HDMI 2.0: supports 4K@60Hz
- HDMI 2.1: supports 4K@120Hz
In my case, I needed at least HDMI 2.0 cables. And I cannot stress enough how important it is to buy good quality cables. I learned this the hard way when I first tried the setup with the stock cables. For no obvious reason the screen kept flickering, and then you start to think, is it the monitor, is it the matrix, or is it the computer? No, it was the cheap cable.
Longer is not always better
One important note: with HDMI it is recommended not to exceed 5 meters. So, the technical limitation of the temple is that it needs to be within 5 meters of the screens. Otherwise you will get a flickering screen, or no signal at all.
Hint: you can always drill a hole in the wall and pass the cable through.
As for the USB cable, lucky for me, the VR (Virtual Reality) setup requirements for long USB cables have created strong demand for a good quality USB extension cable. Just make sure you buy an active one, USB 3.0 or better.
I bought: CableCreation Gold (5m) Super Speed USB 3.0 Active Extension Cable, USB 3.0 Extender
The “backend” of the temple
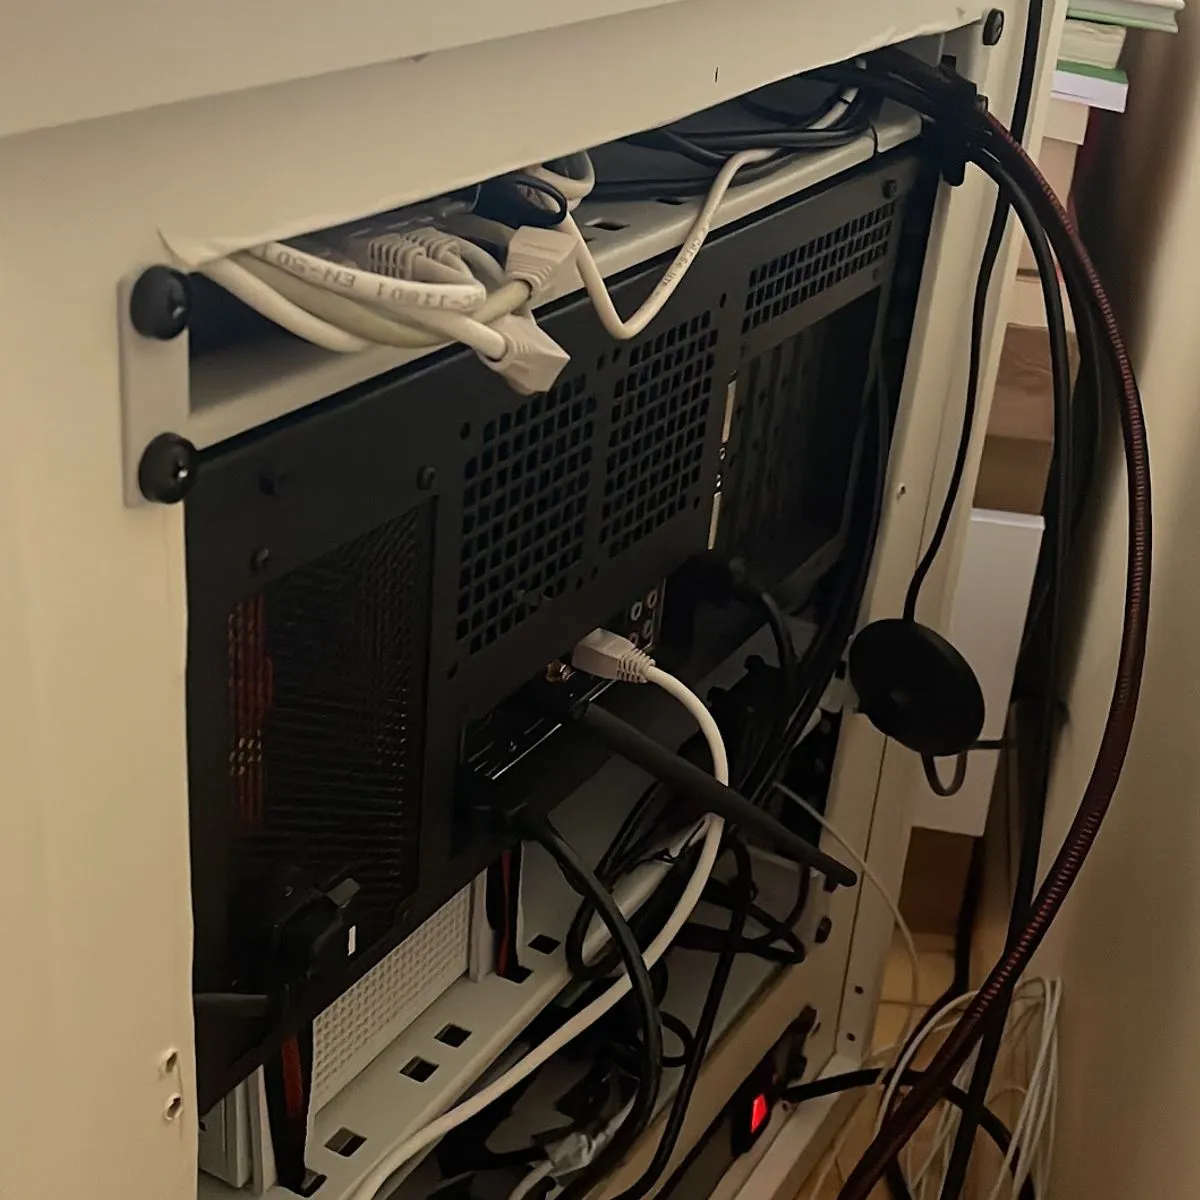
The temple itself is one big cable-management box. Only the HDMI cables, the power cable, and the USB extension come out of it. Everything else lives inside.
Finally, the result
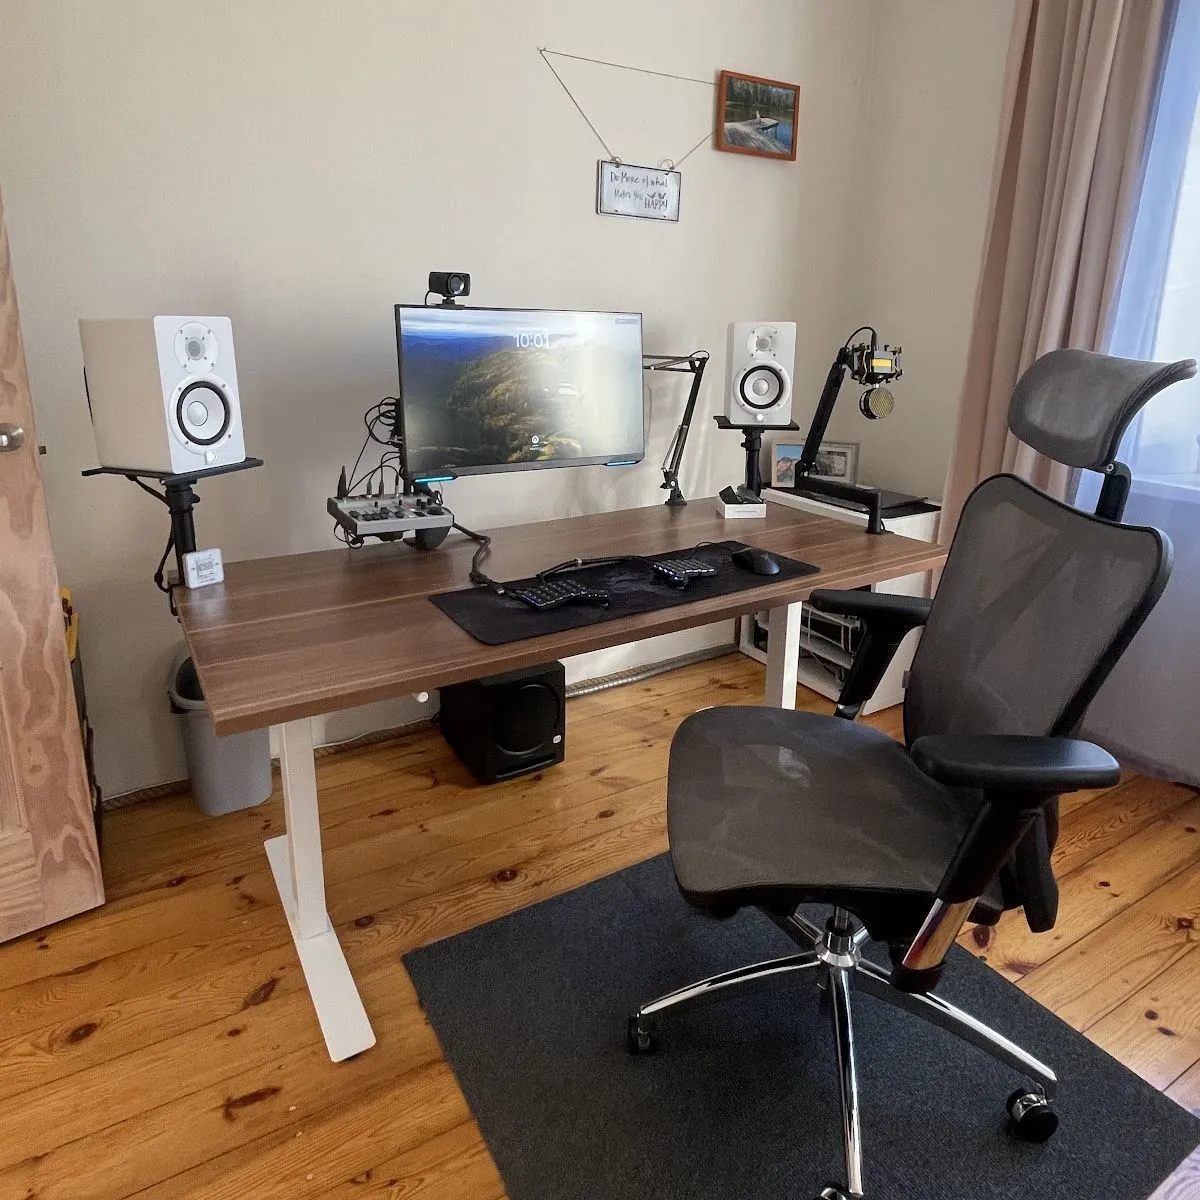
Can you even tell where the cables come out?
Afterwords
With this temple setup plus a Nintendo Switch, I was able to host a Fortnite LAN party with 4 players in the same room. Not bad at all, considering that was never the point of the temple. A nice bonus.

Written by EdgeLimits